As your family and your needs grow, your house starts to feel too tight.
We've been there ourselves...
This is why, a couple to years ago, we started to play with the idea of bringing to life a garden room.
What is a garden room?
...it's an extra room with the same qualities of the rooms of a high-end house (great insulation, great soundproofing, privacy, ...) that you can just place in your garden.
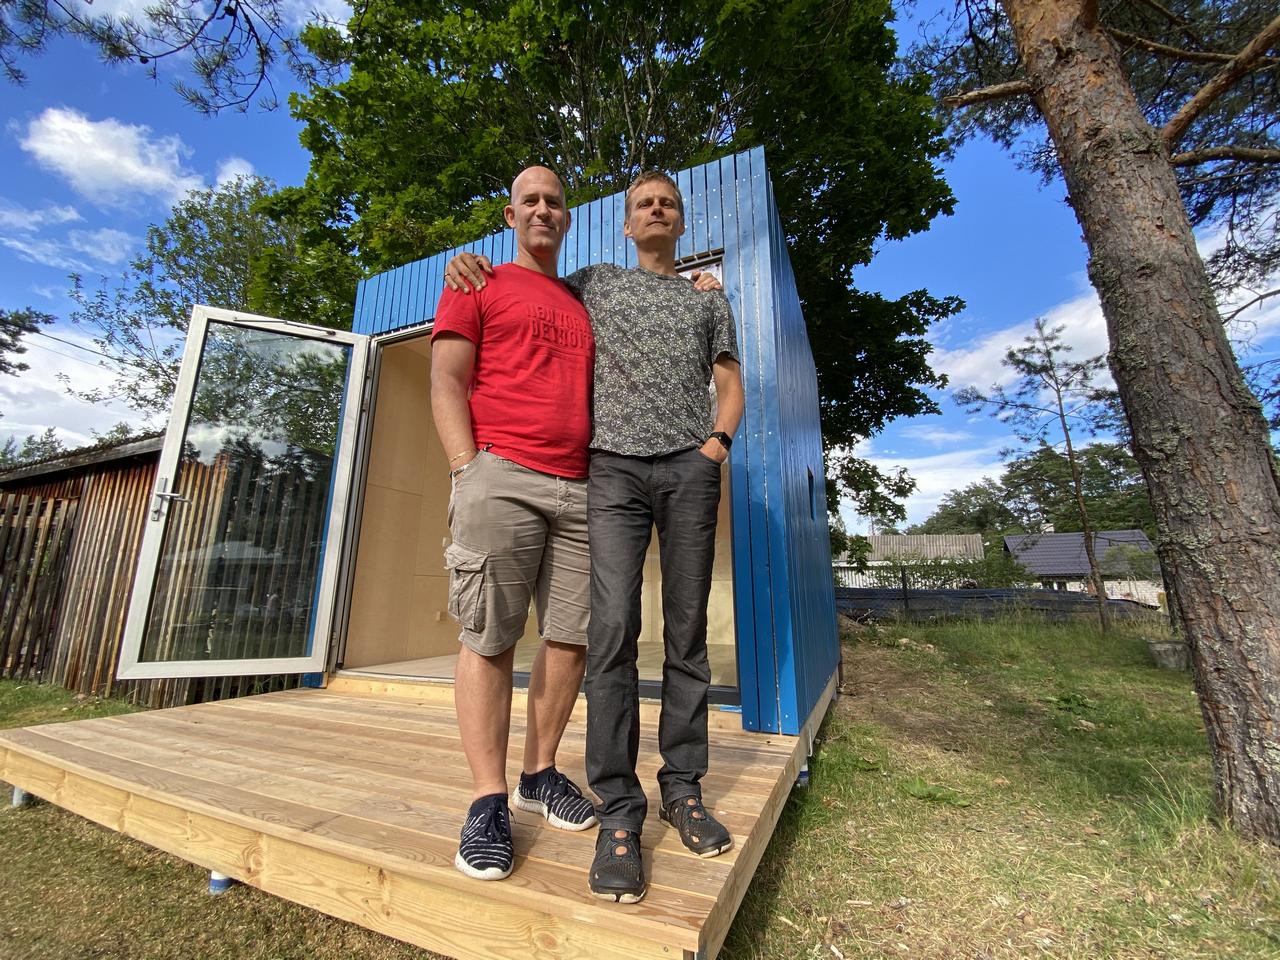
This summer we finally built one and it took us just 4 days!
The birth of the idea
It all started with my need to have a place where to shoot YouTube videos.
I needed a quiet place, a place where I could work in summer and in winter and that would not cost a fortune.
You know, I'm biased (since I've been working with prefab houses for 10 years now), so the first thing that came to my mind was to design something packed with good insulation and made with the same technology we use for residential buildings.
I thought this kind of construction could be used for other purposes as well...
So I drafted a list:
- YouTube studio
- Podcasting studio
- Painting studio
- Music room
- Garden office
- Home theater room
- Woodworking room
- Hobby room
- Yoga room
- Fitness room
- Kids playroom
- Mom & Dad's special room
- ...
Well, you get the idea.
I thought that such a room would be very useful to a lot of people.
I talked about it to my partner, Tiit, and he liked the concept a lot.
So we started to work on it and, in a few days, we had a 3D model ready and we were basically ready to send it to production.
The concept
It was the 2nd of January 2019 when I came up with the concept of a flat-pack studio.
I really wanted it to be easy to ship... so we could impact as many families as possible.
Making it flat-pack was the way to go.
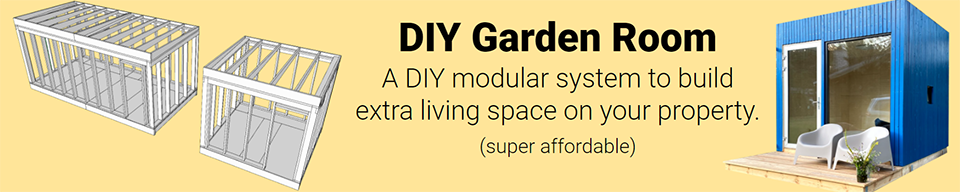
Later we started to see it as a "garden room", or "garden office".
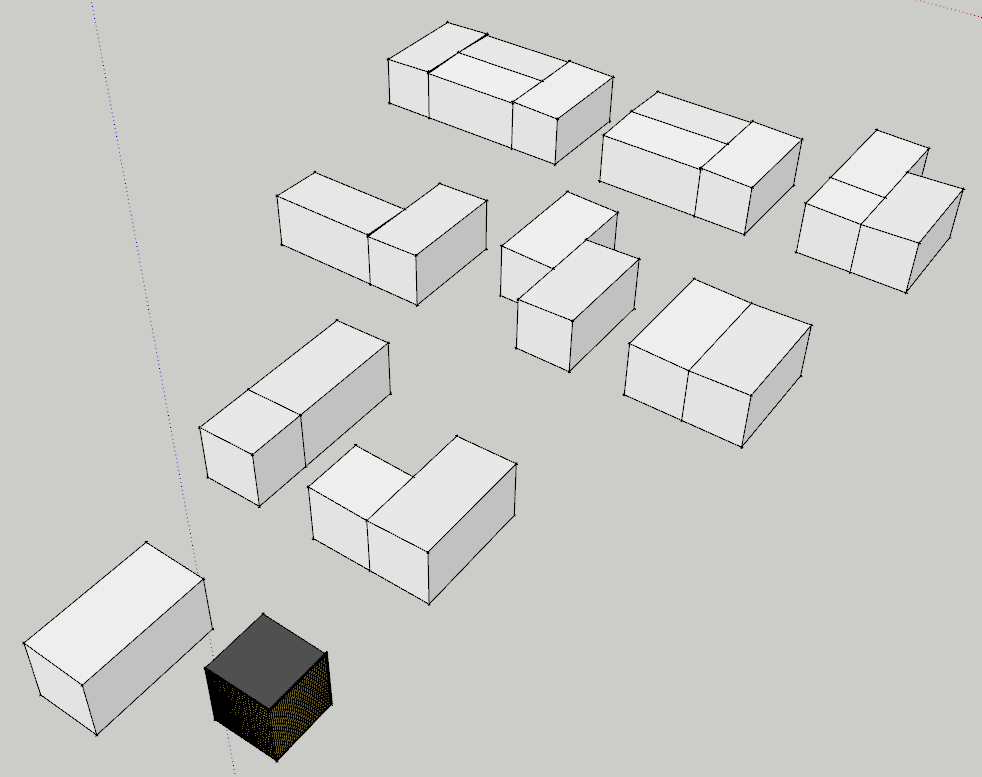
The system has a modular design.
A module is 3x3 meters (the side is 9' 10") and several modules can be combined together in whatever configuration you want.
Sidenote: this system is an ideal alternative to shipping container housing since it is way more eco-friendly and cheaper to build.
We designed the system to be easy to work with, in regard to all the stages of the project, from the initial price offer, to shipping, assembly, finishing.
We have been procrastinating a bit with it, but then came Covid19 and the "home office" went viral.
So we decided to go all-in with it and we built the first one for ourselves.
This email address is being protected from spambots. You need JavaScript enabled to view it.
Why a DIY Kit?
There are essentially 4 reasons behind this choice.
1) shipping a pre-cut kit is way easier and cheaper than shipping any other kind of prefab object.
This means we can reach a lot more people and make it more affordable for them.
2) a pre-cut kit is way cheaper than an element or modular construction.
You have to put some work in, but the result is that you end up paying less.
Our experience with small modules confirms that people are not willing to pay top money for something to place in their garden... so the idea of a DIY option makes a lot of sense.
3) a DIY project is an experience, not just a "thing" you buy... and we really liked the idea of involving people into something like this.
4) as we approached manufacturers we learned no one was interested in producing such a tiny thing.
This was a major turn down... but we knew it would have been always possible to find at least one company that would support us with cutting the materials for a DIY kit.
The first prototype
After months of adjustments and negotiations, we managed to agree with one manufacturer to work on our first prototype.
It was going to be a single module, a one 3x3m micro-house, just to prove our concept.
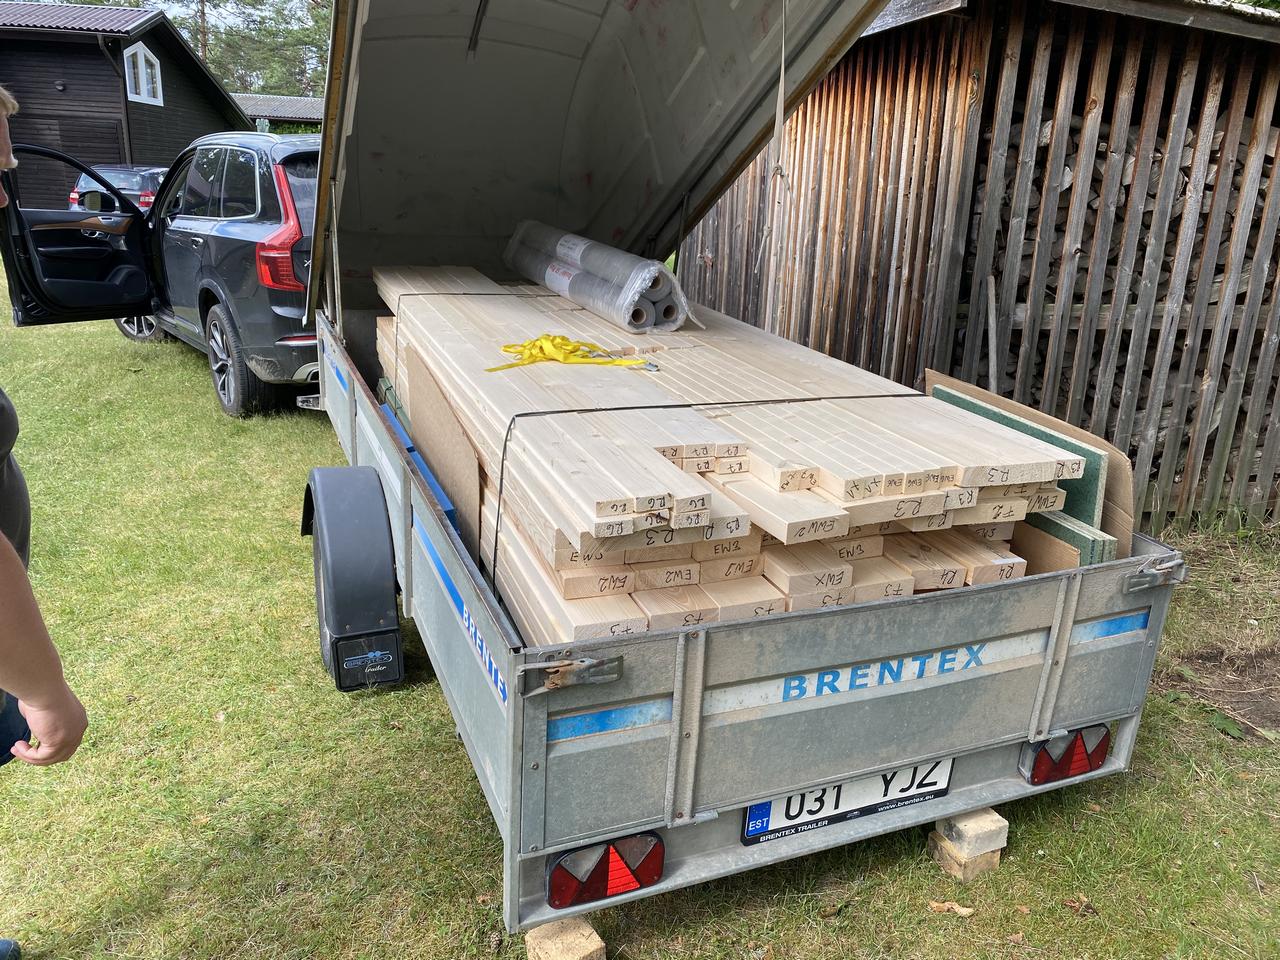
The DIY kit for one module contains 216 parts and over 1000 screws.
Most of the wood is structural timber, grade C24... the very same we use for houses.
We chose to make all the components (floor, walls, roof) 150mm thick, in a way to have enough insulation to make the micro-house super efficient from an energy standpoint and to have excellent soundproofing.
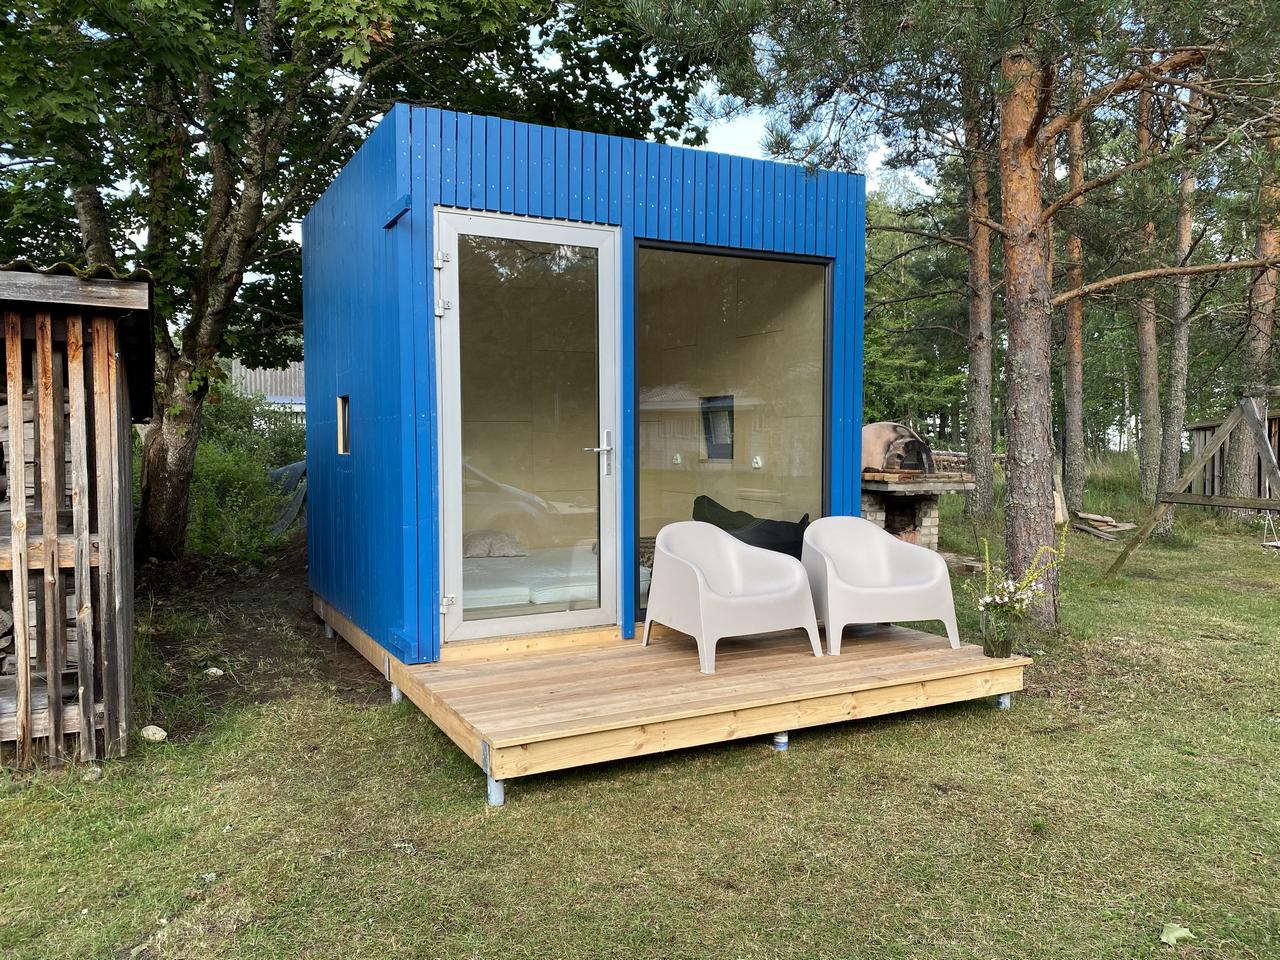
The first prototype was going to serve as guestroom at Tiit's summer house.
For this reason, he opted to have large windows on the front.
Sidenote: the original design has a much smaller window since it was made a sort of office.
Anyway, we ended up designing the kit in a way that one can add as many windows he needs.
The assembly
We got the material on a hot summer morning and we started to deal with the foundation around noon.
Tiit's place is by the lake, on sandy soil, so we used a screw-pile foundation.
It was fairly easy to screw the 4 piles in the sand.
The tricky part was to get them in the right position.
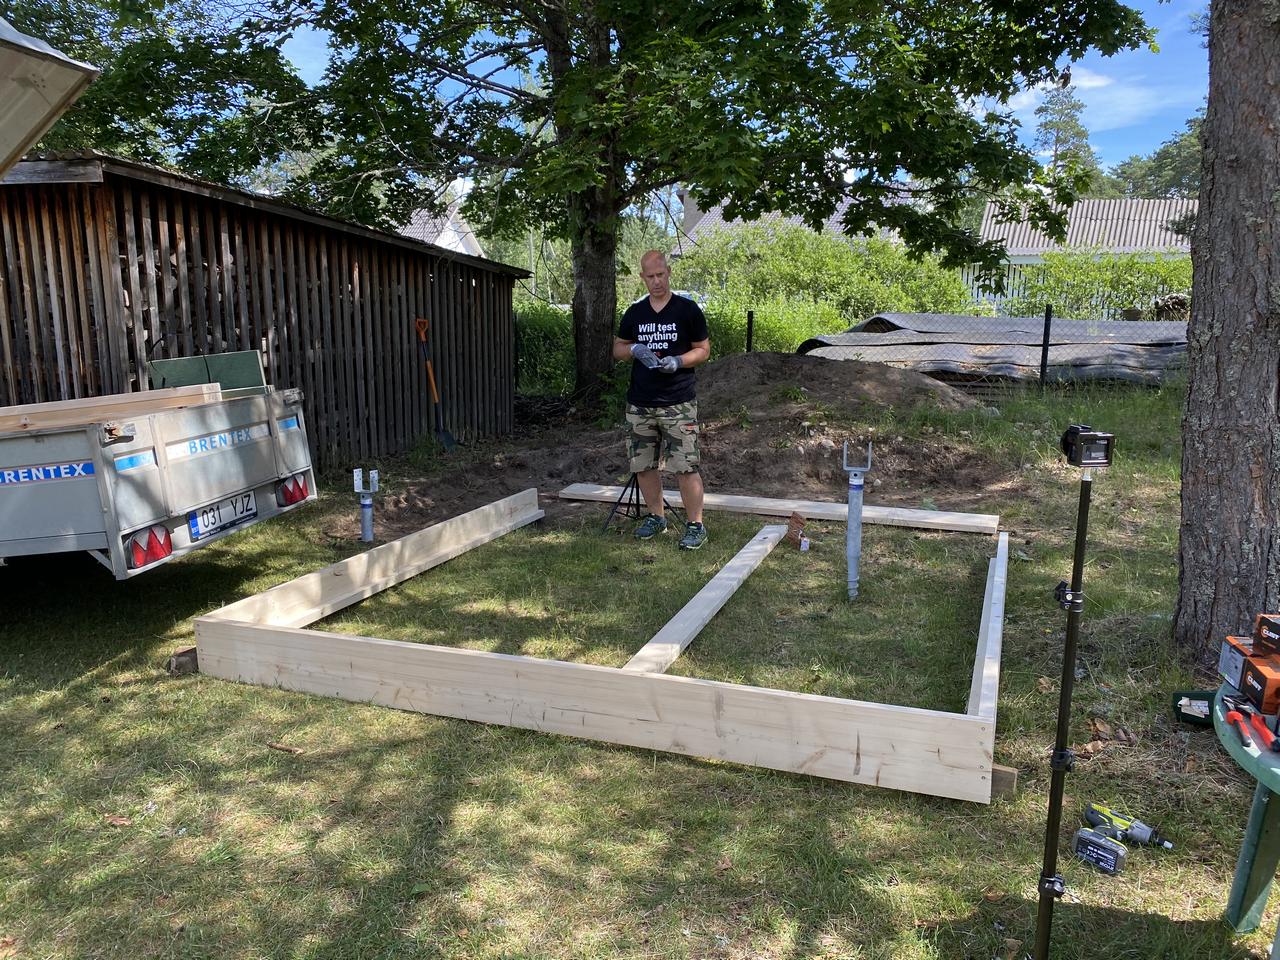
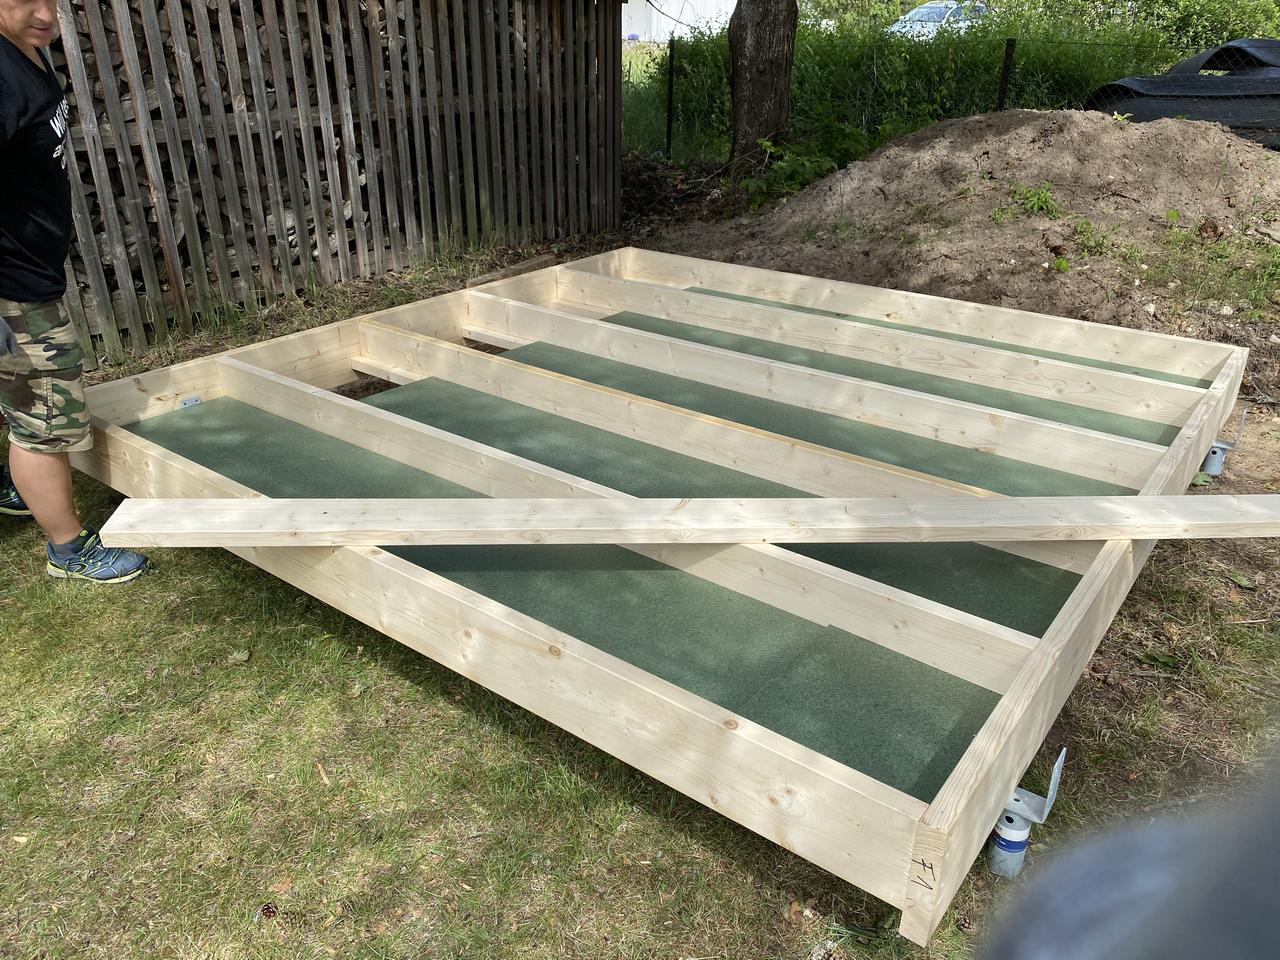
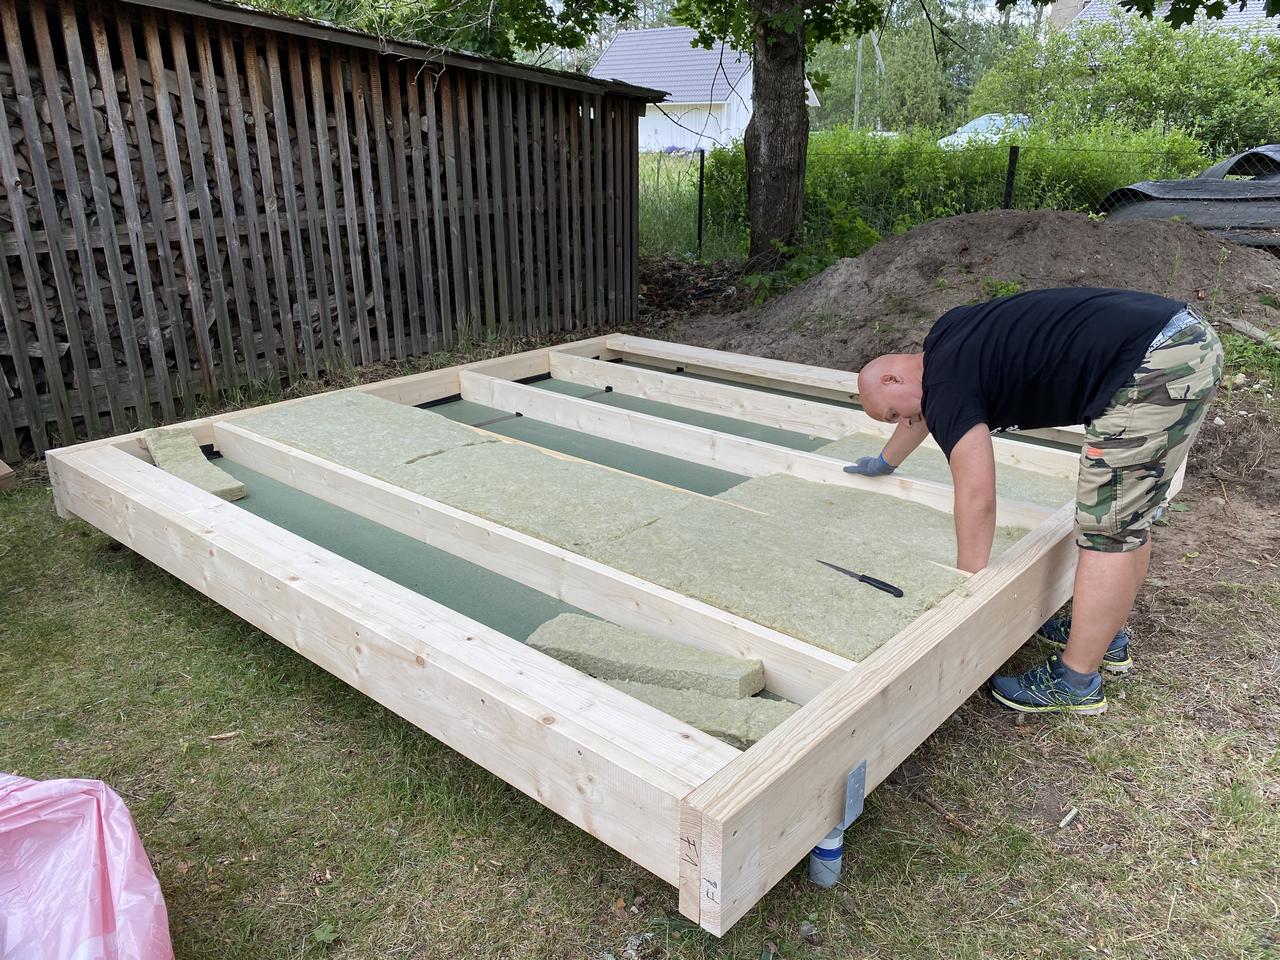
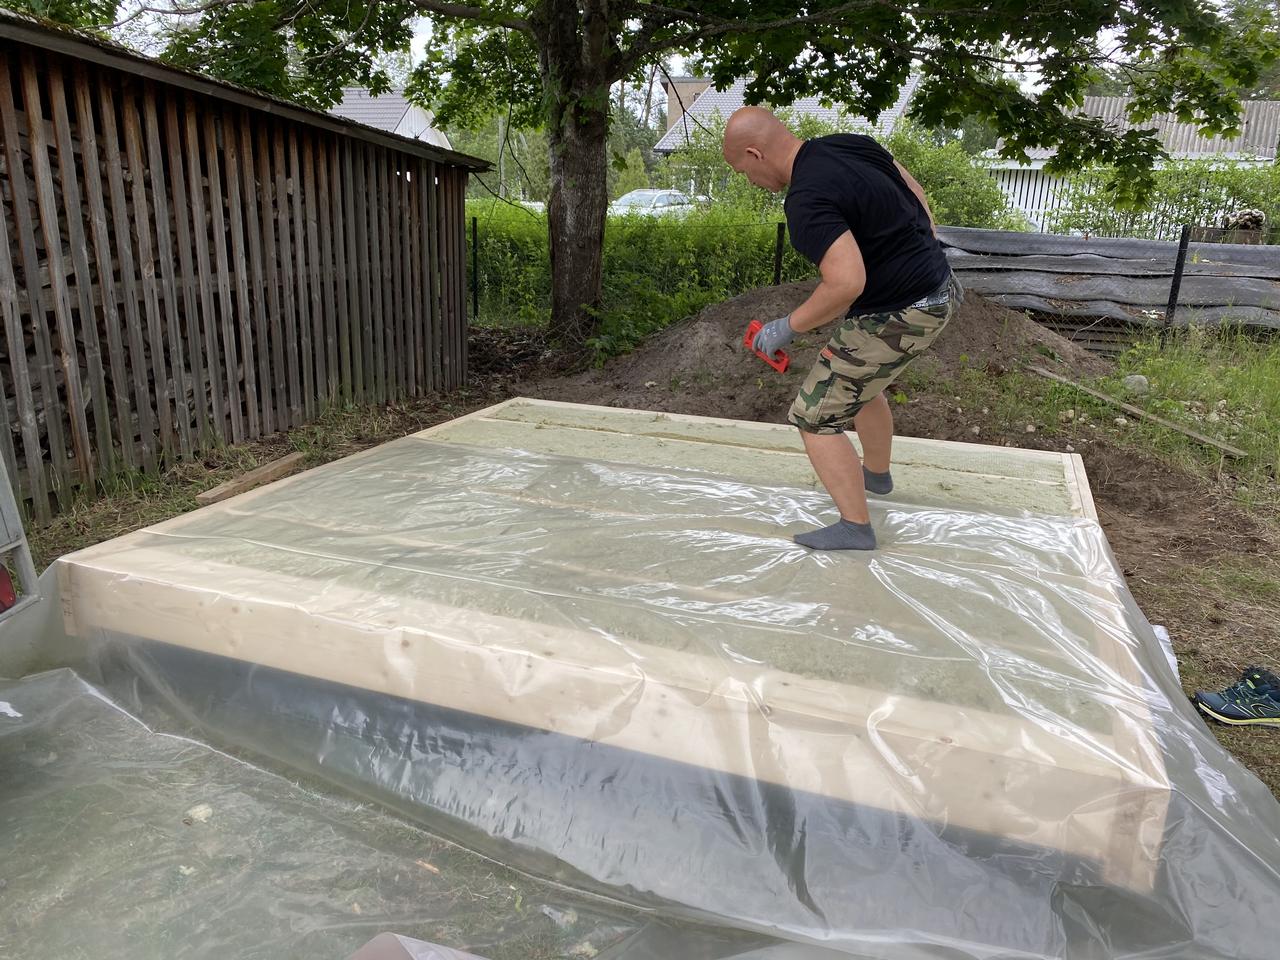
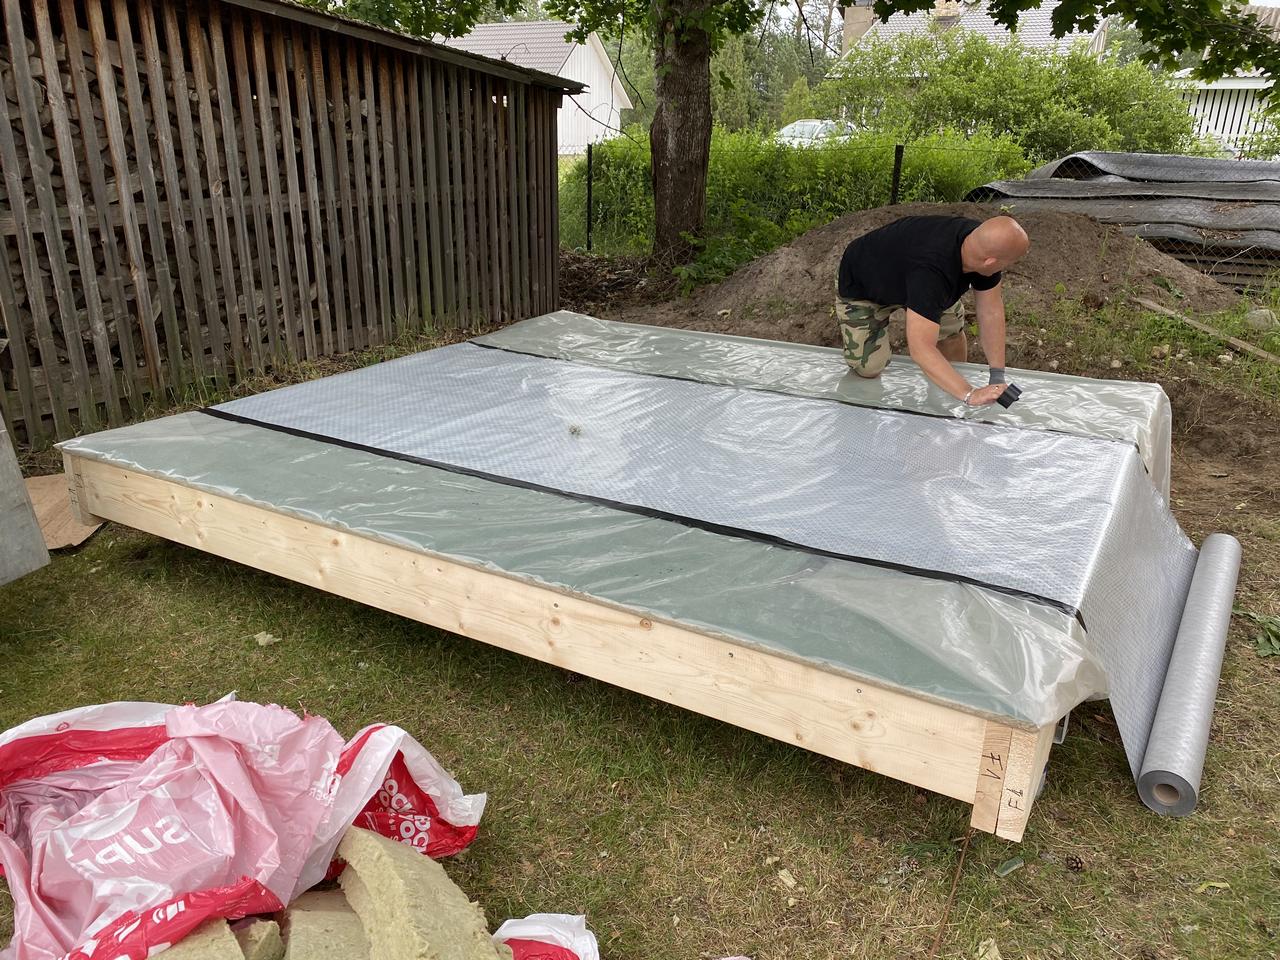
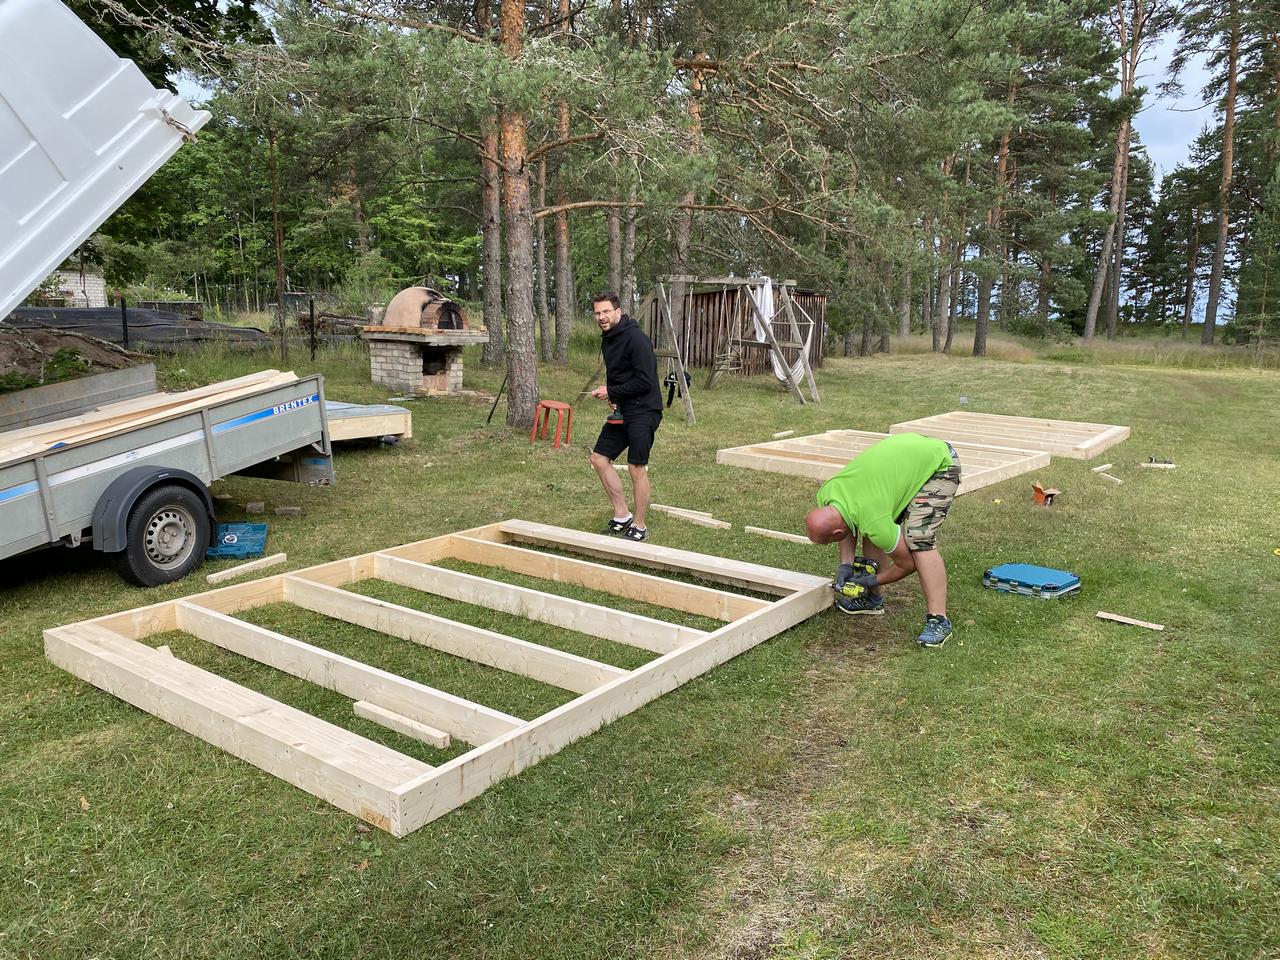
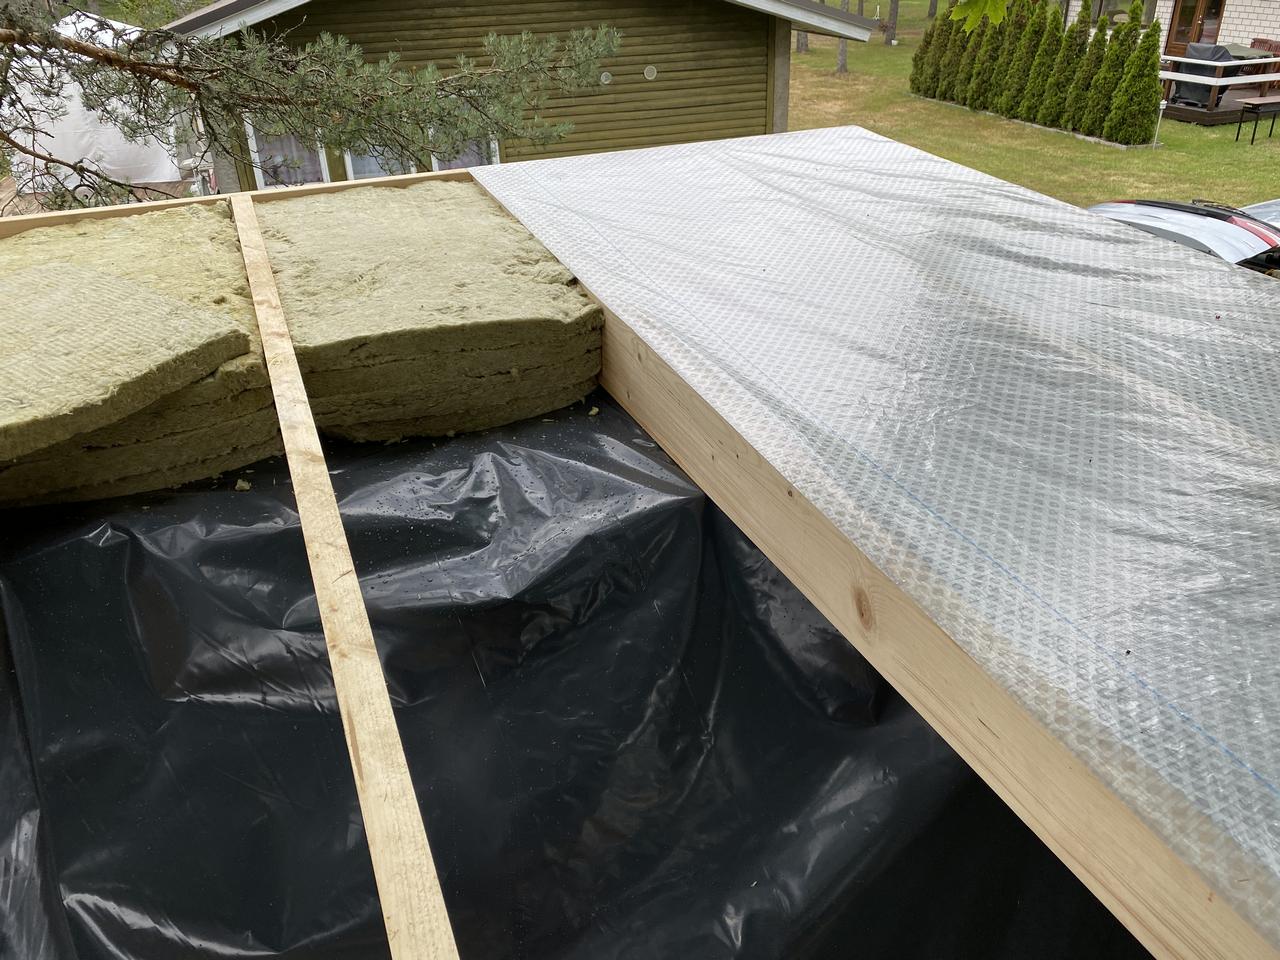
We then assembled the floor element and installed it onto the 4 screw-piles.
In a little over 3 hours, the entire floor element was finished, completed with insulation and vapor barrier (2 men working on it).
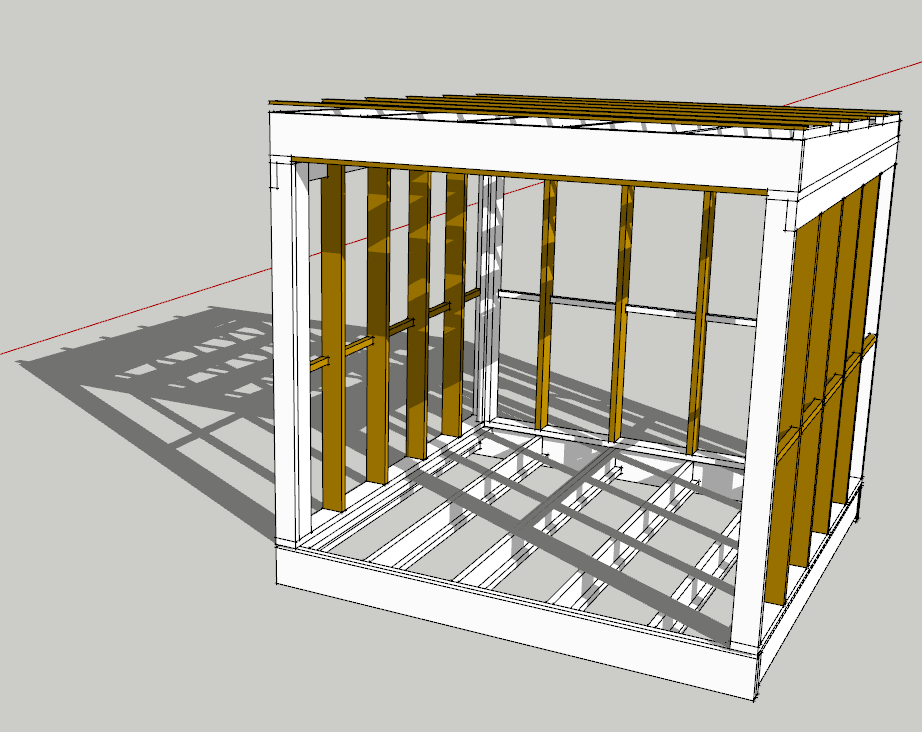
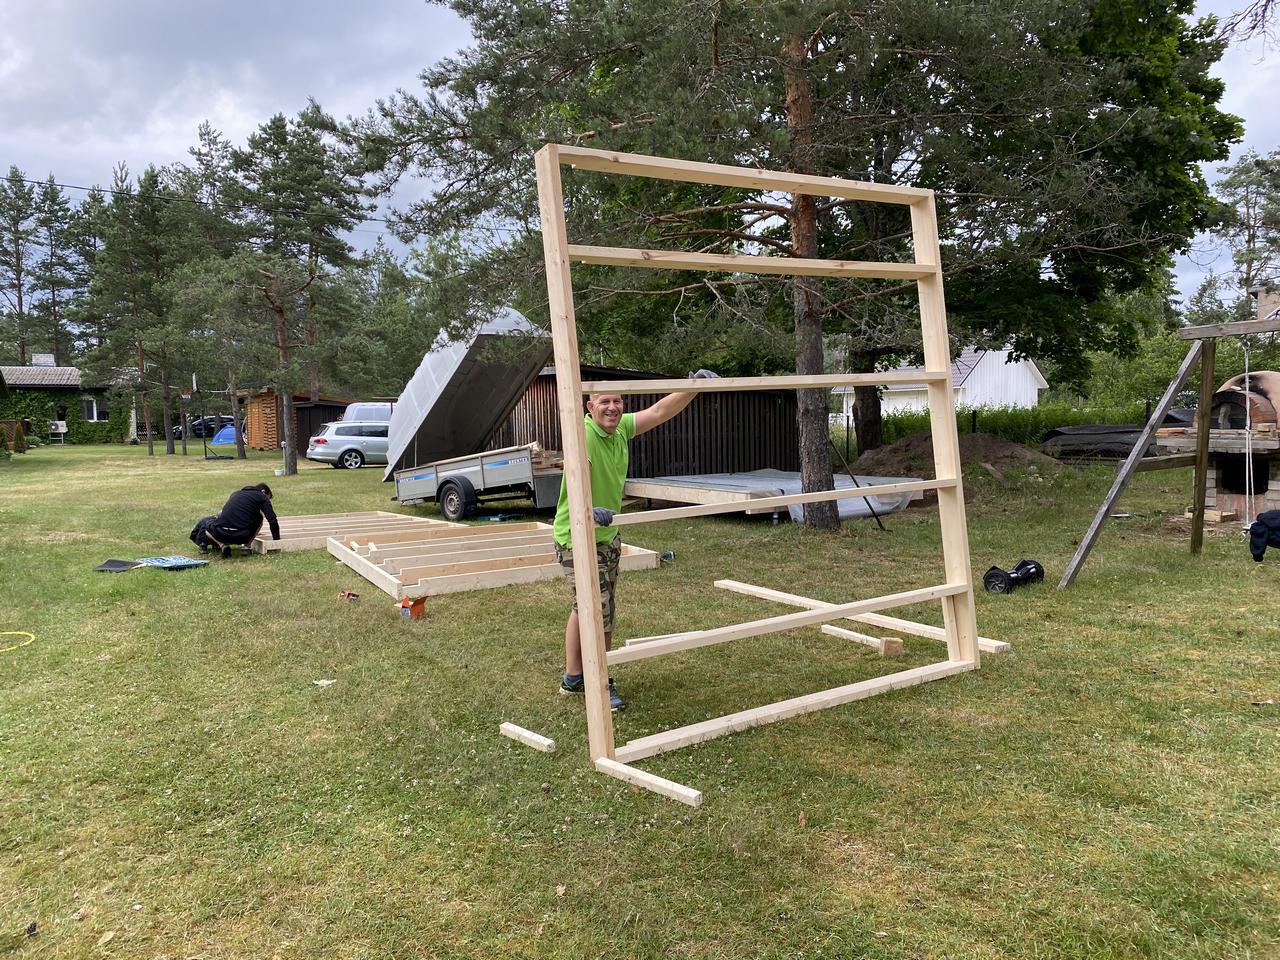
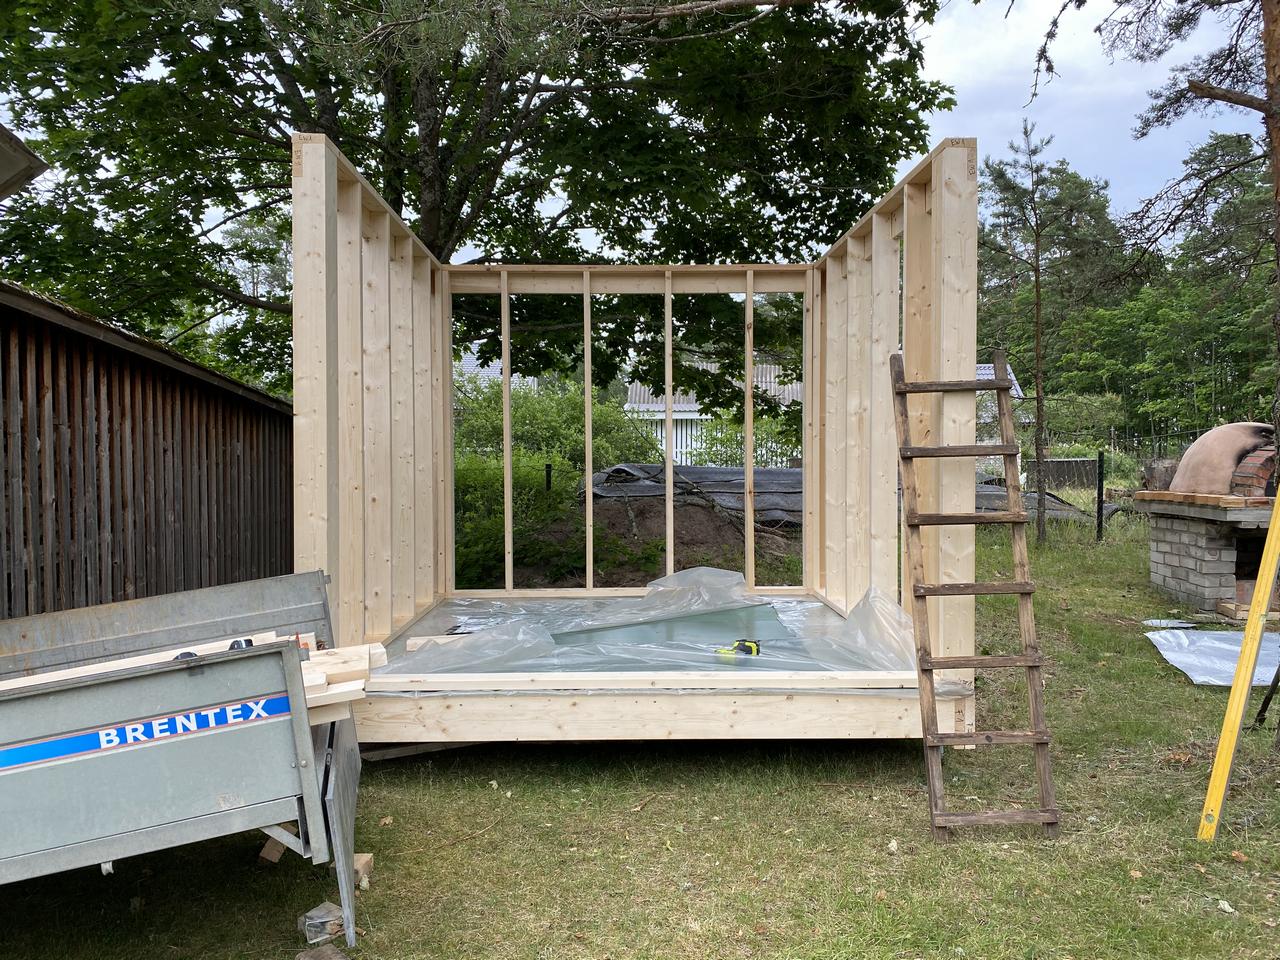
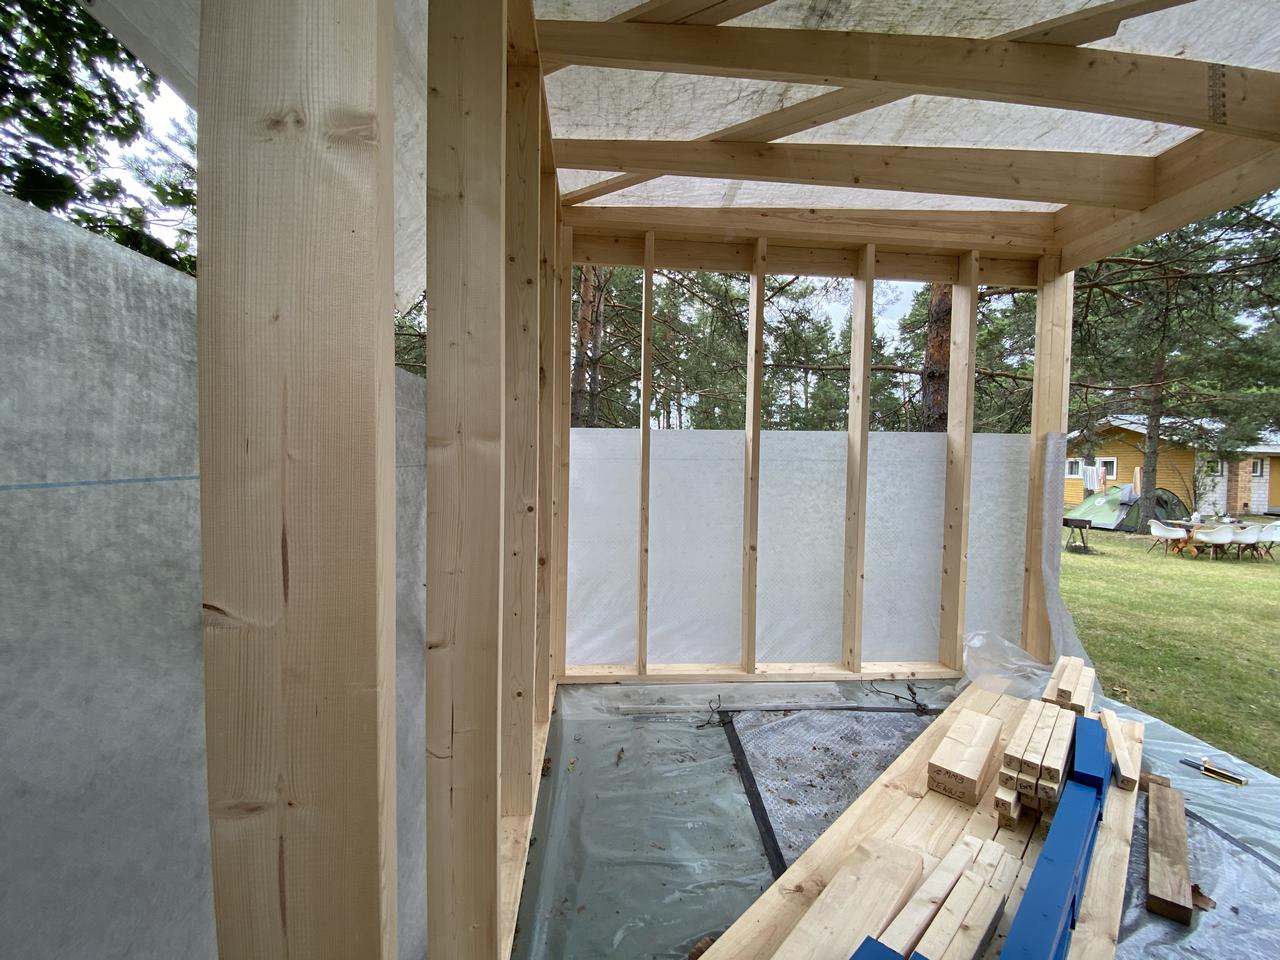
After a short break, we continued with the assembly of the 3 walls.
With a little help (we were 3 men at this point), we completed the walls in just about 1 hour.
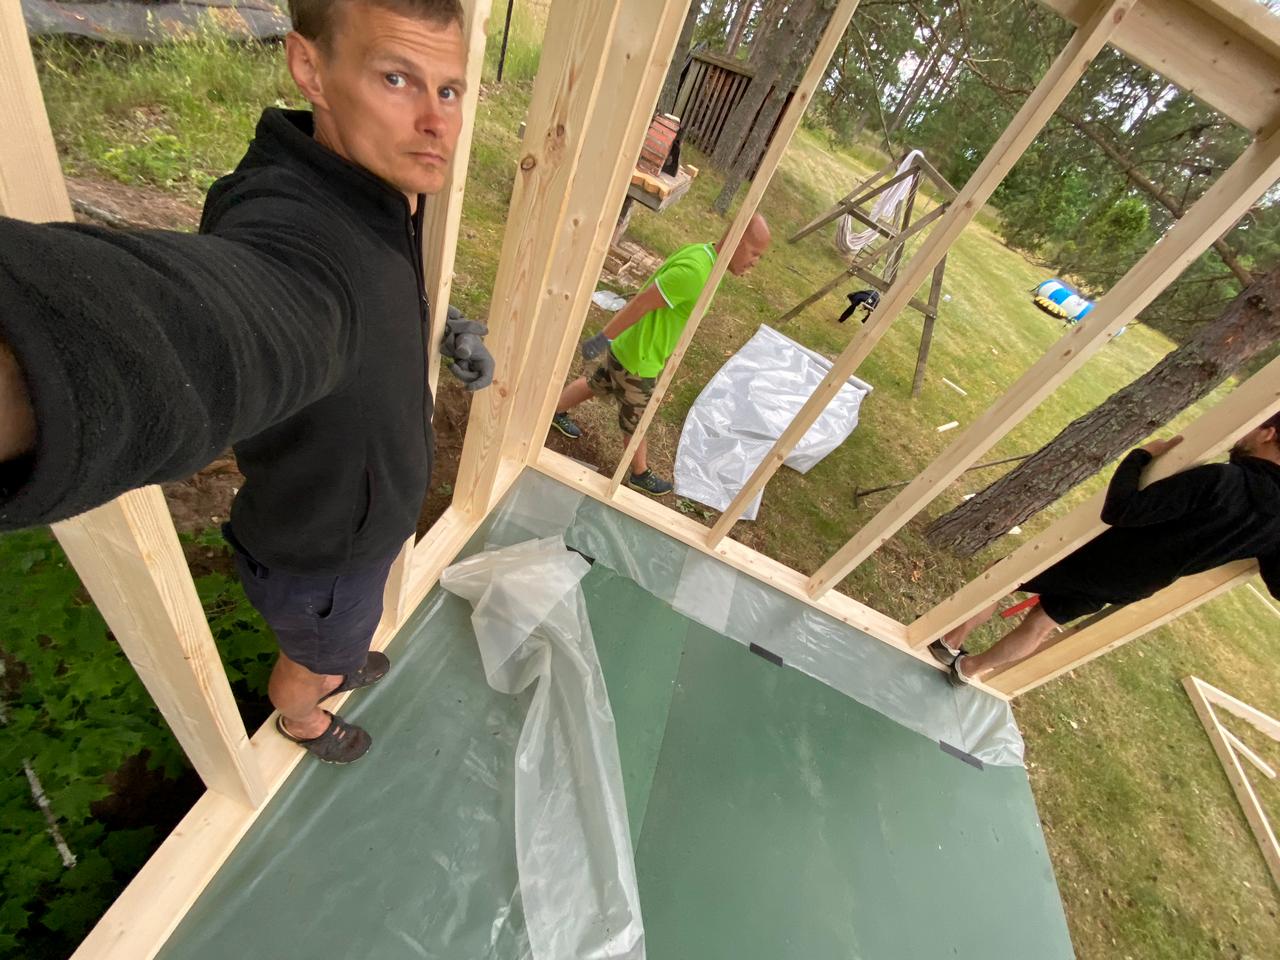
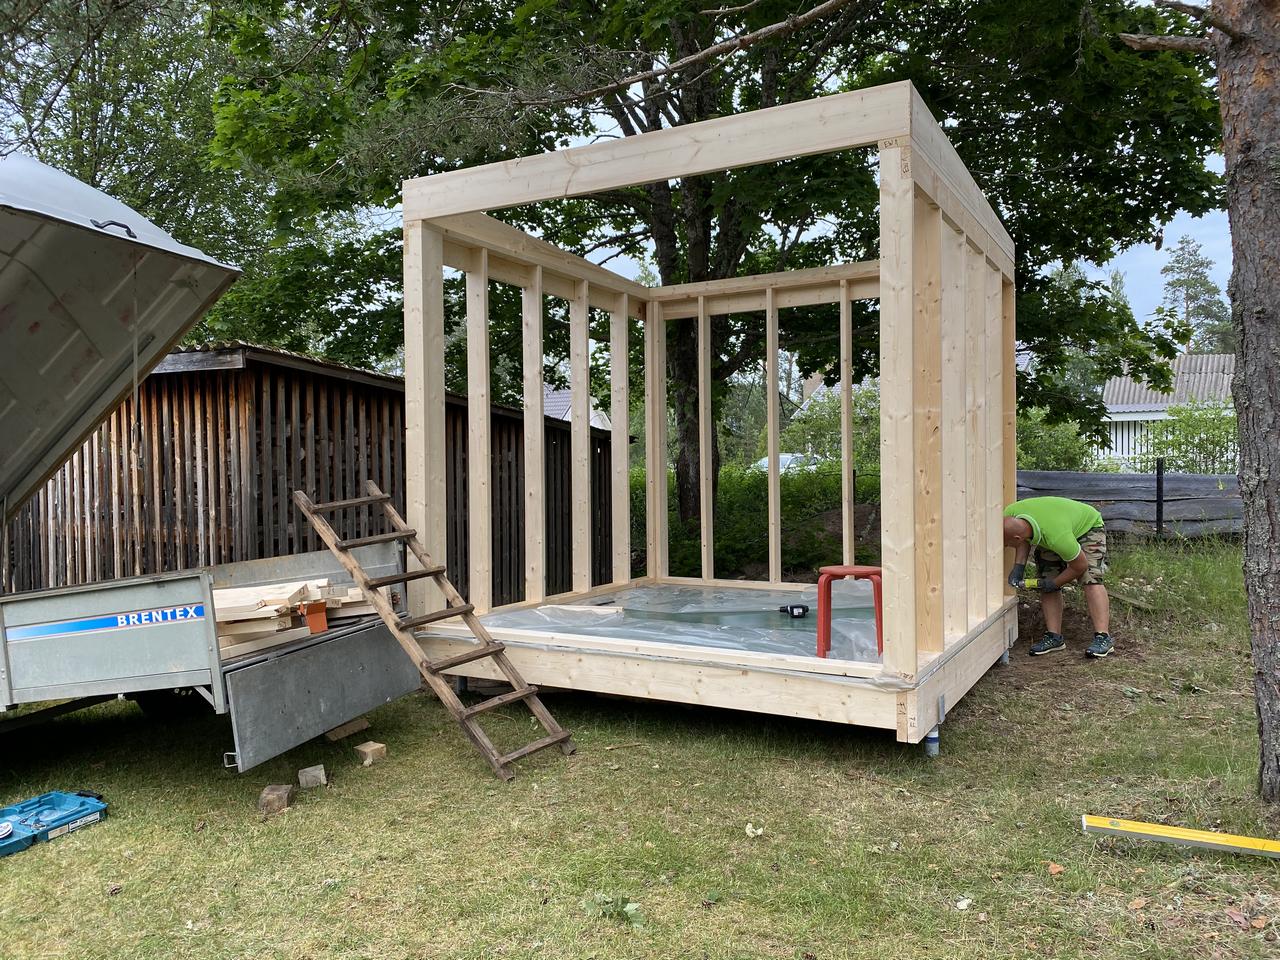
We then installed the walls onto the floor element and secured them in position (you need 3 men for this).

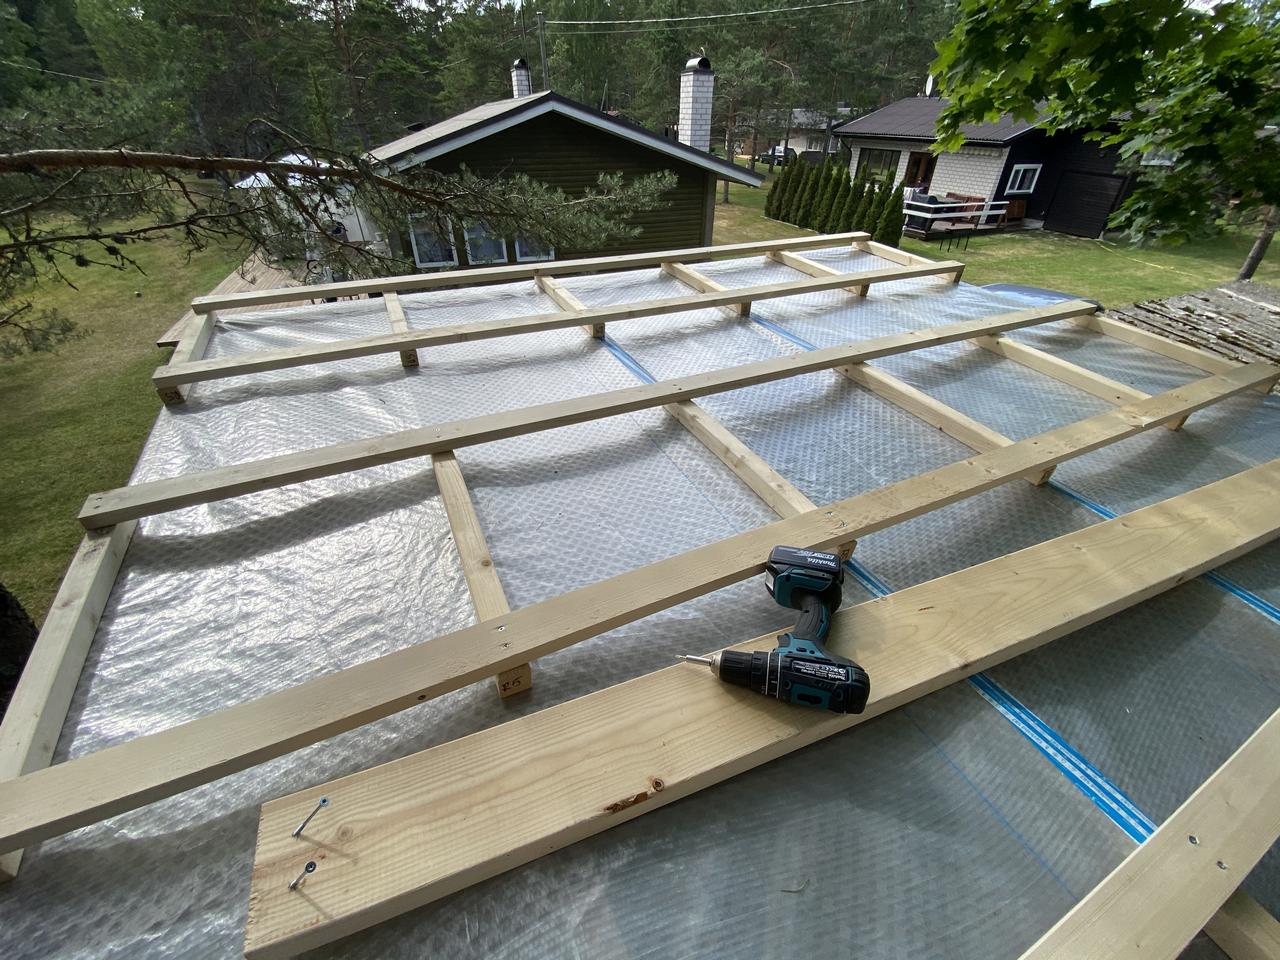
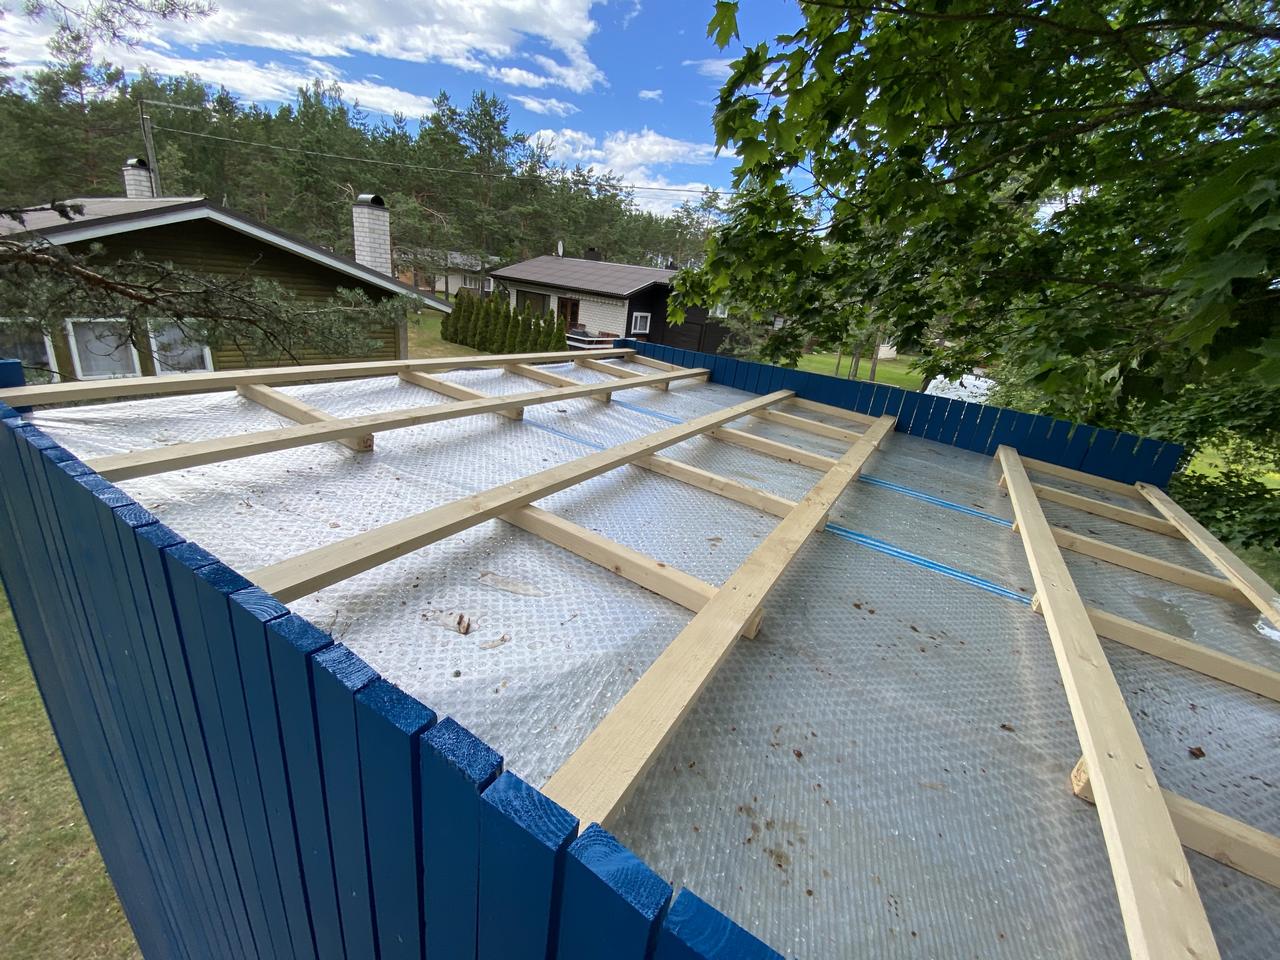
Then we assembled the roof frame.
Next, we installed it on top of the walls (again, this is a 3 person job).
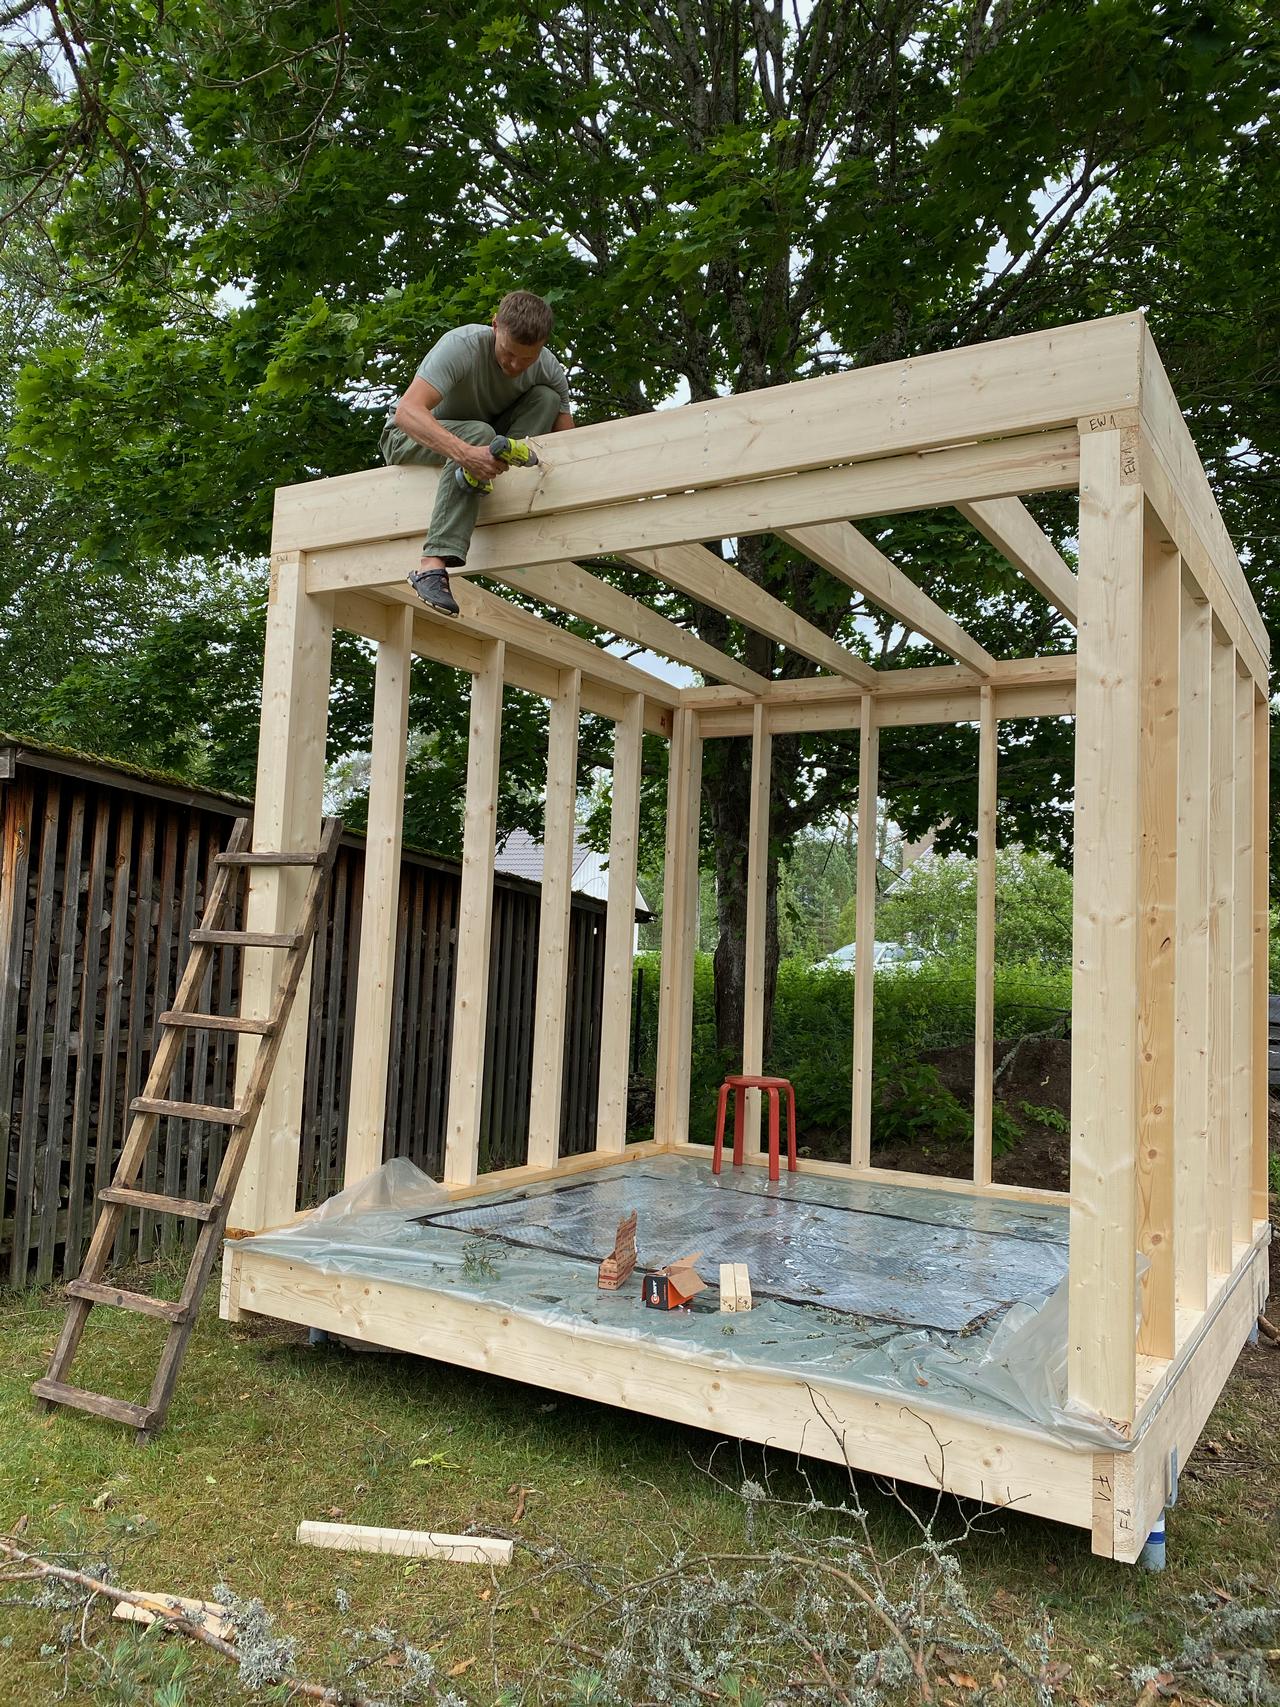
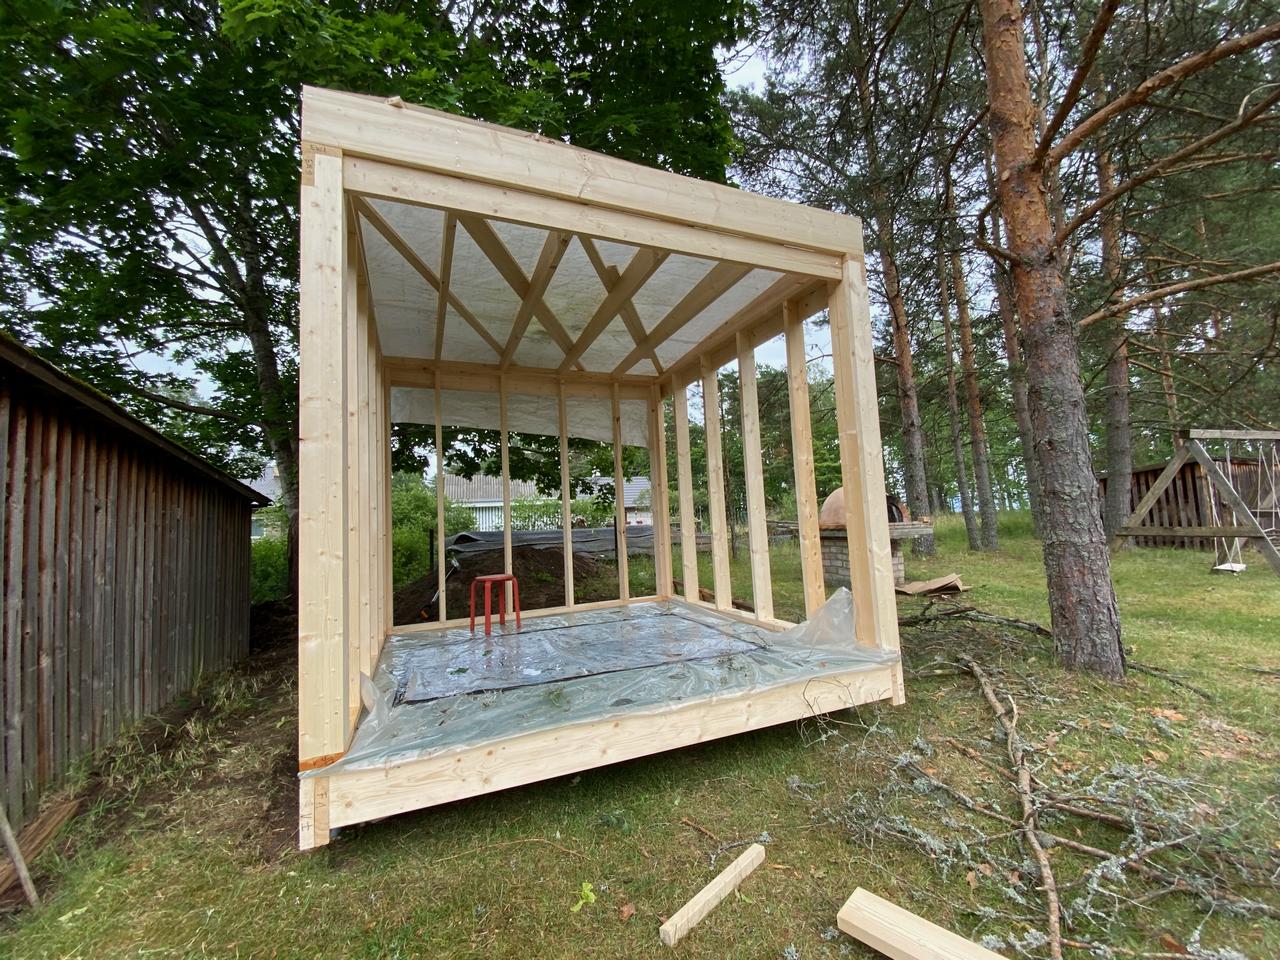
At this point, the structure was up and we had a break to celebrate.
It took less than 8 hours to get to this point.
This email address is being protected from spambots. You need JavaScript enabled to view it.
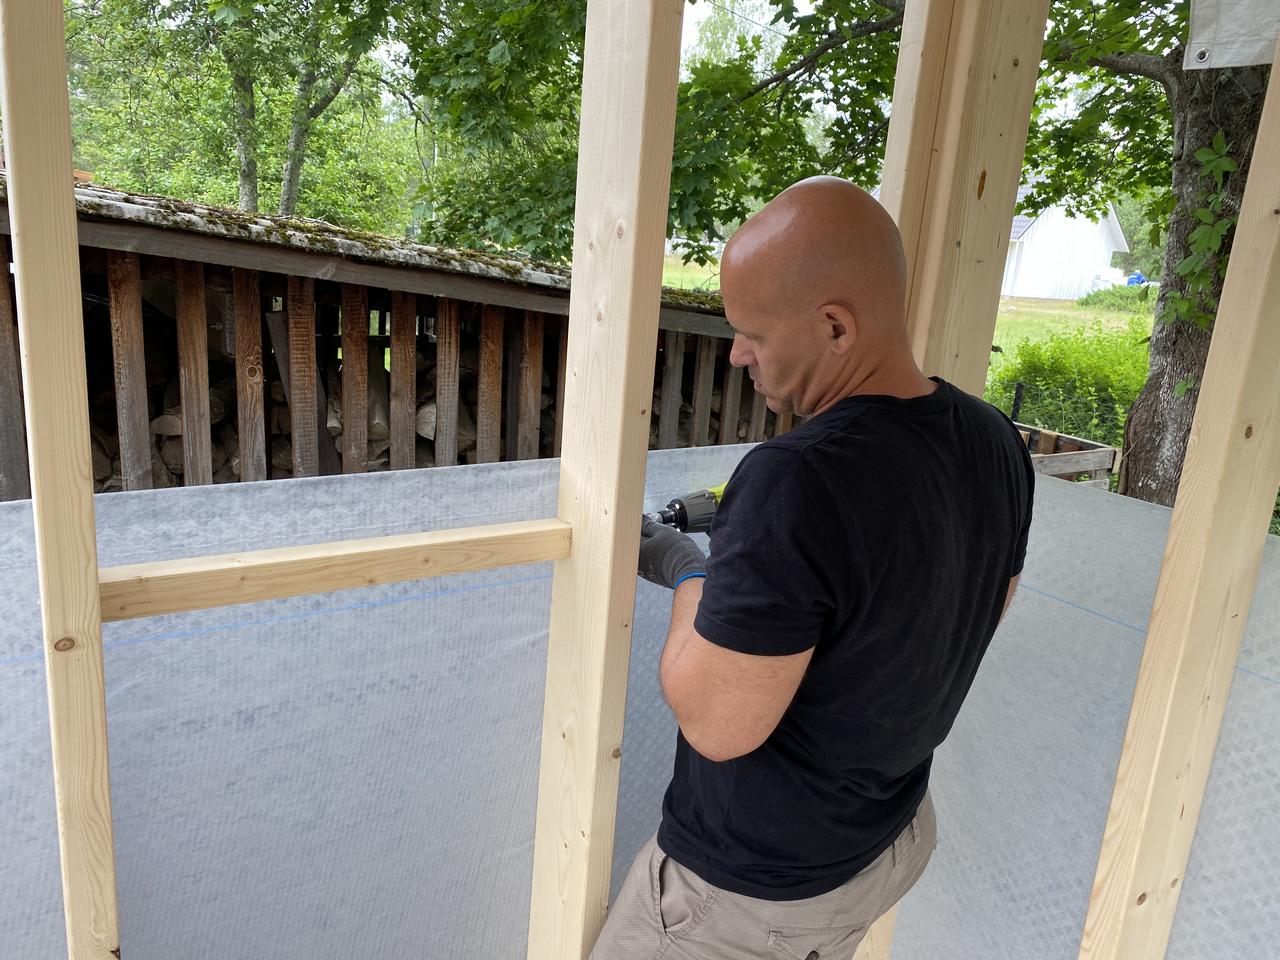
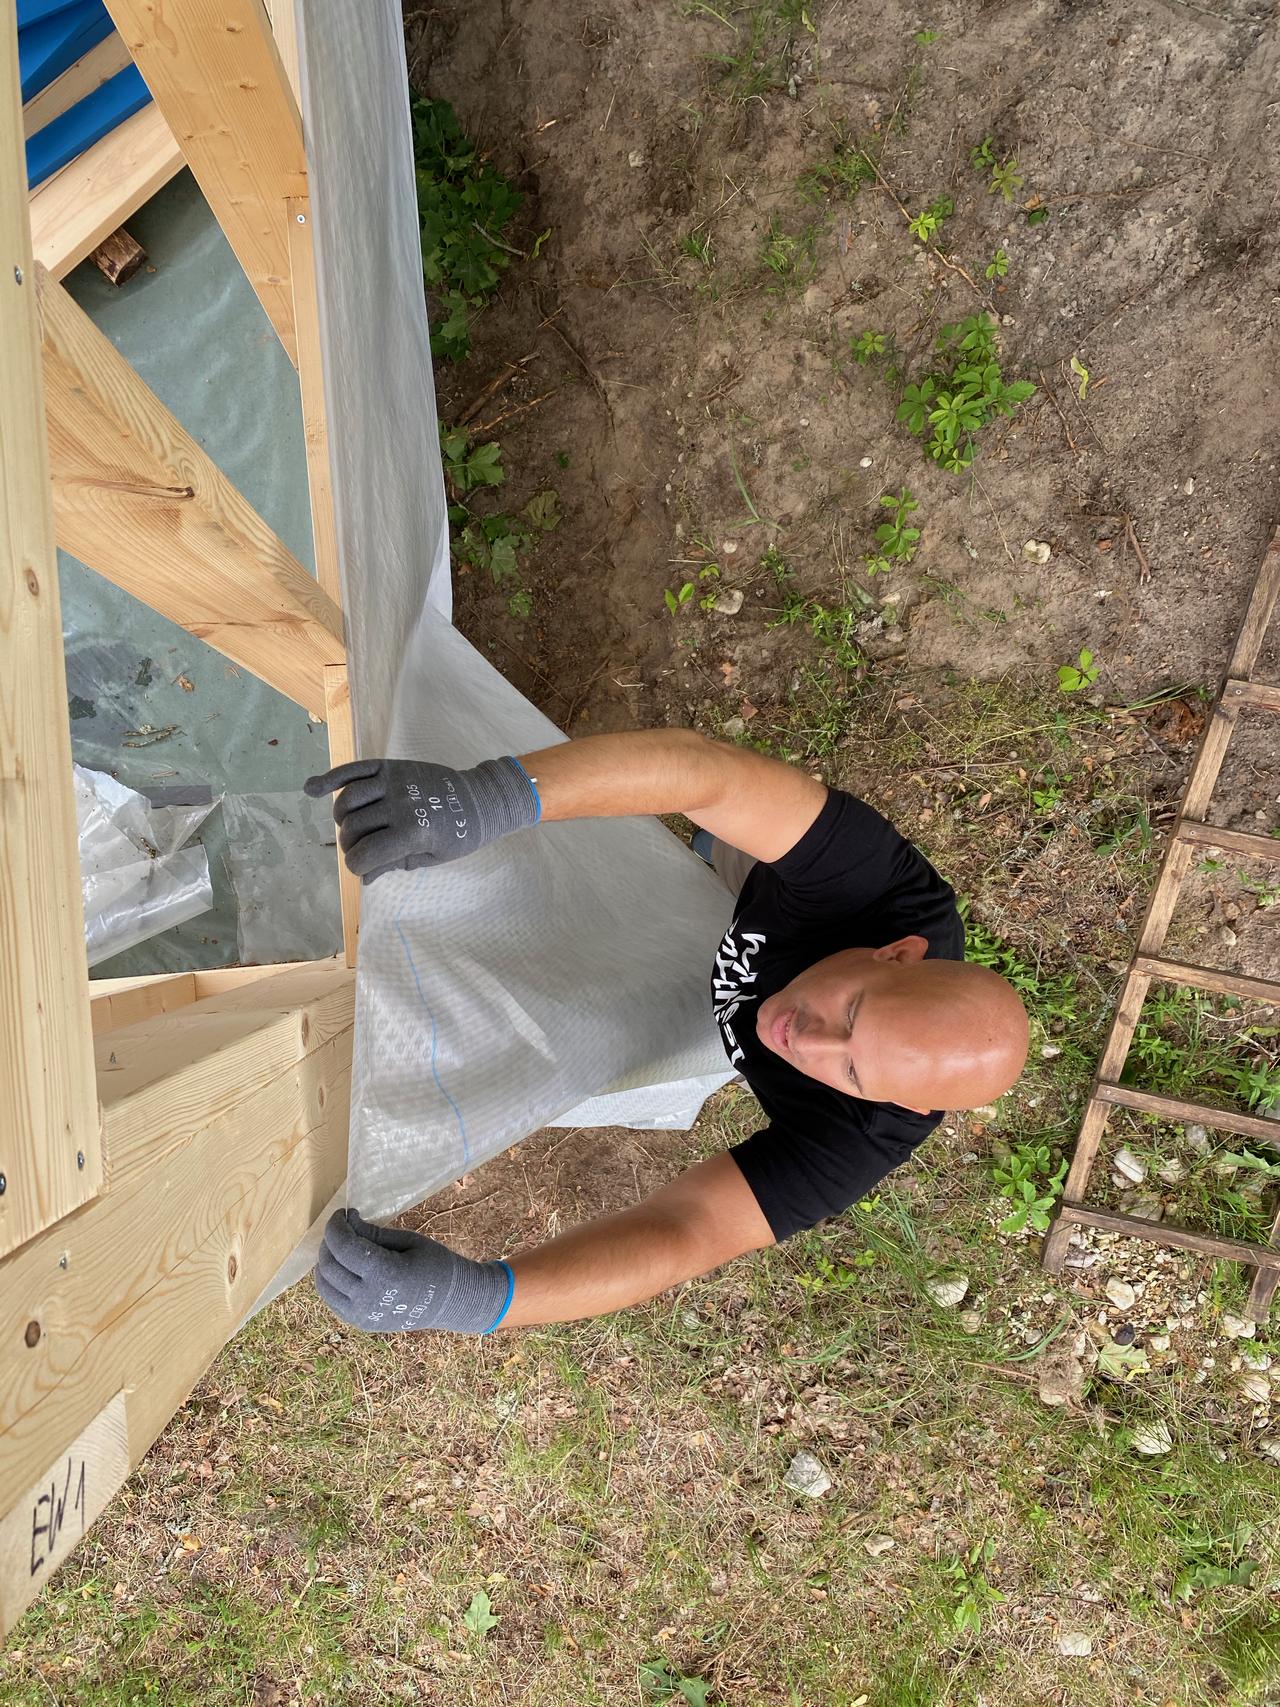
The exteriors
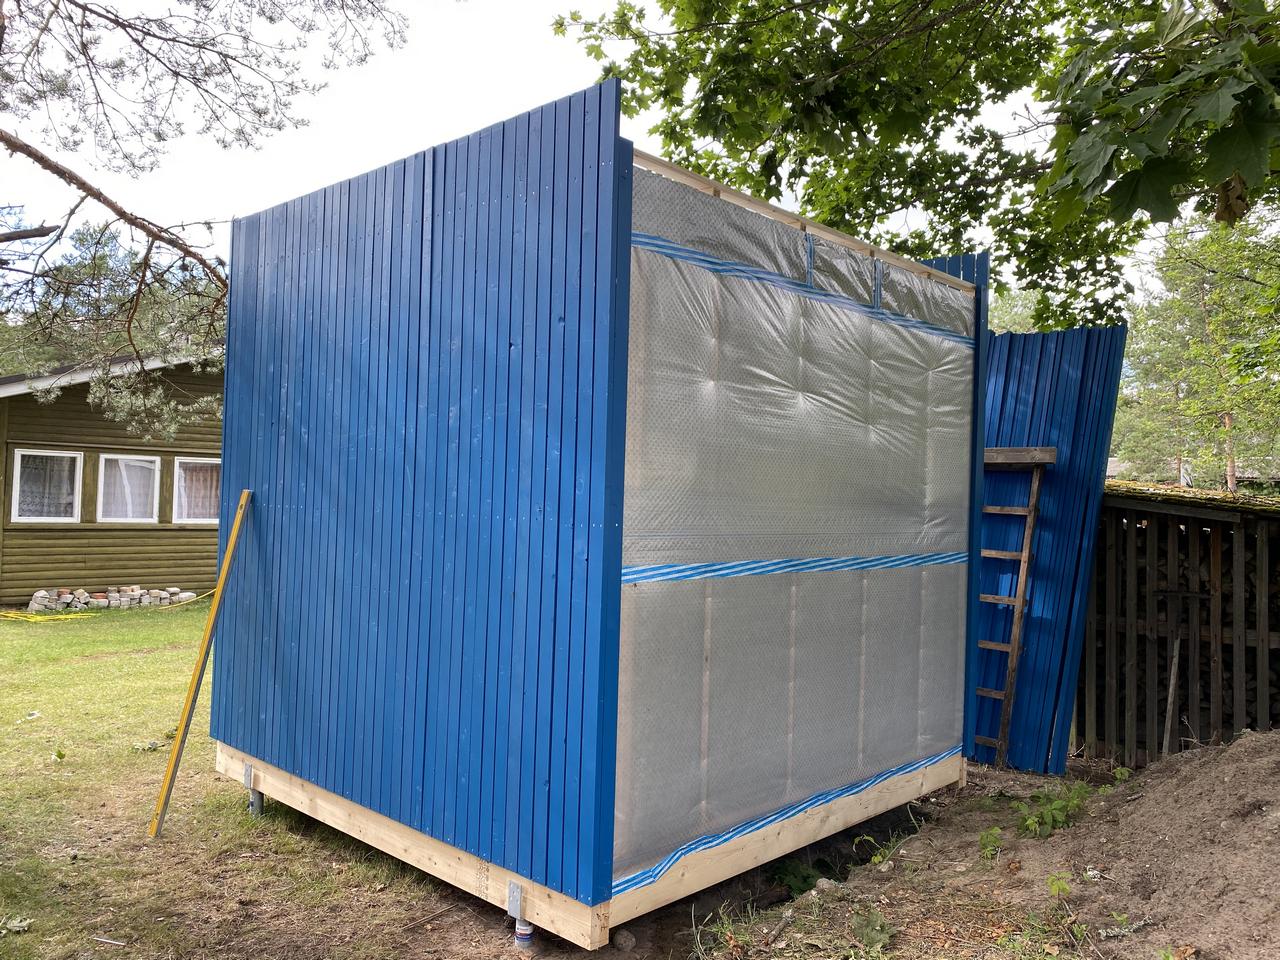
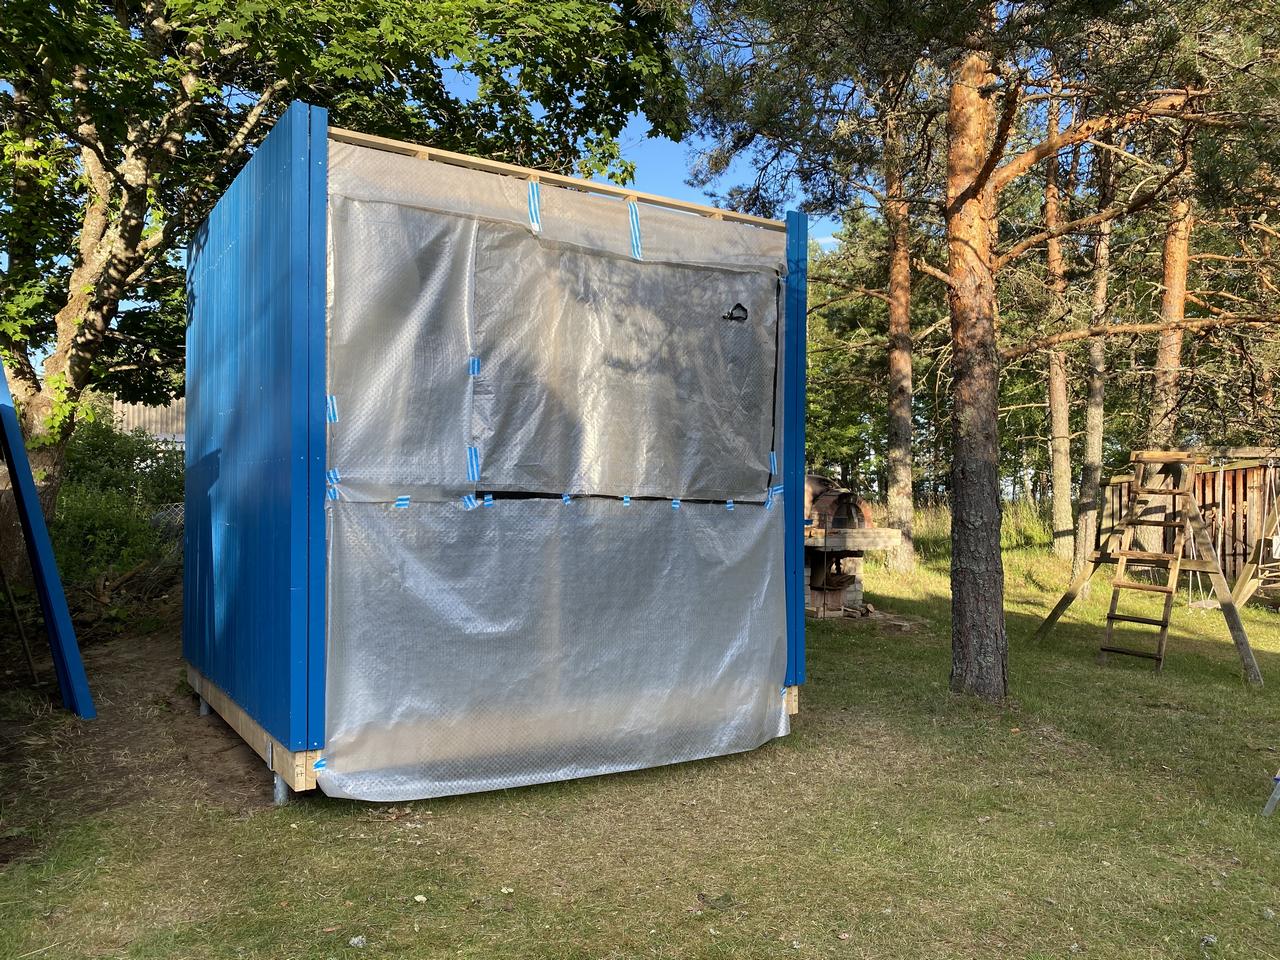
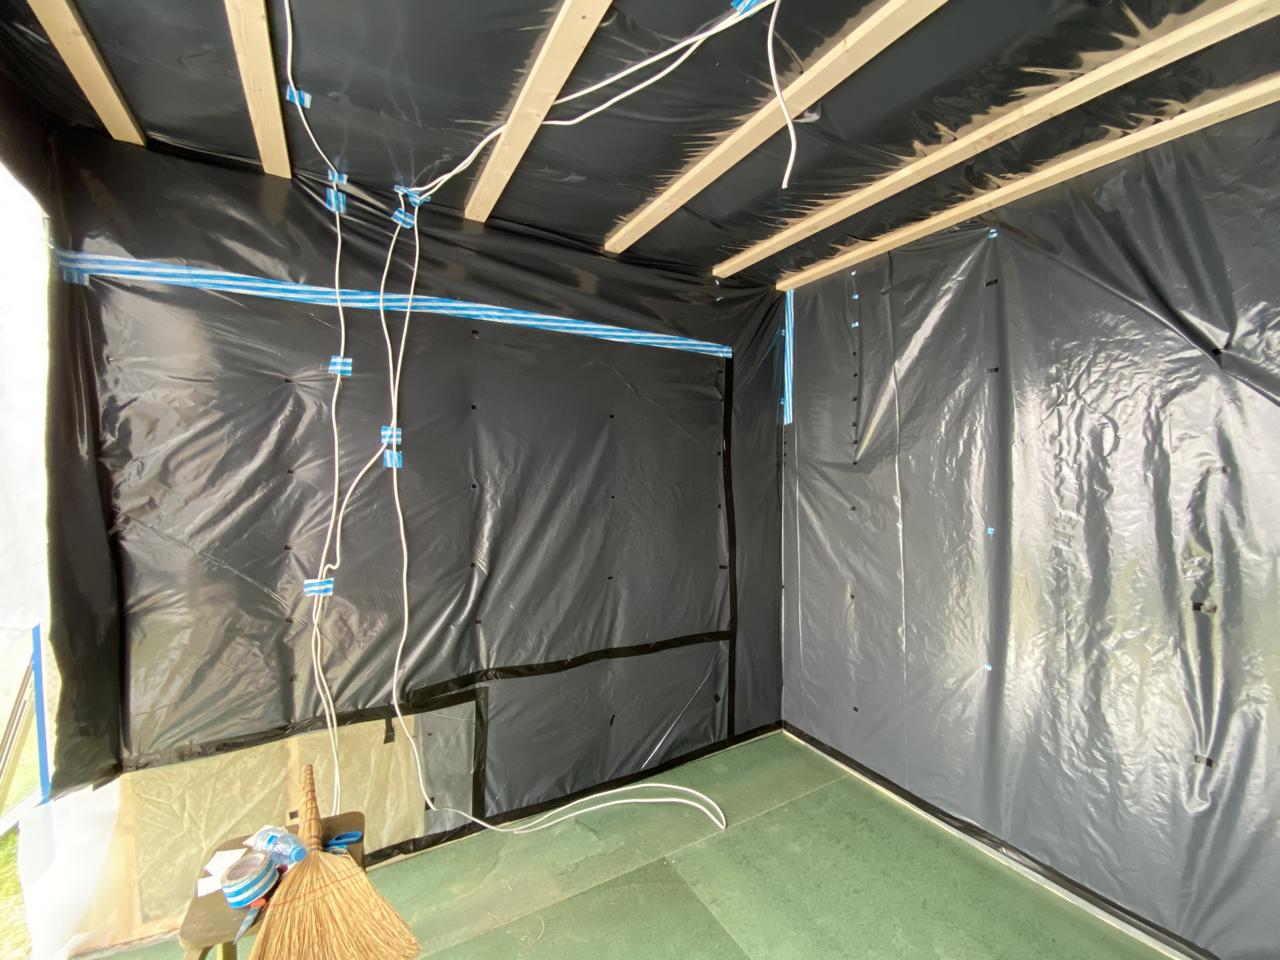
On day 2, the plan was to secure the building with a windproofing membrane, installing the insulation on the inside and installing the cladding on the outside.
It took about 1 day of work to make it happen and it was fairly easy.

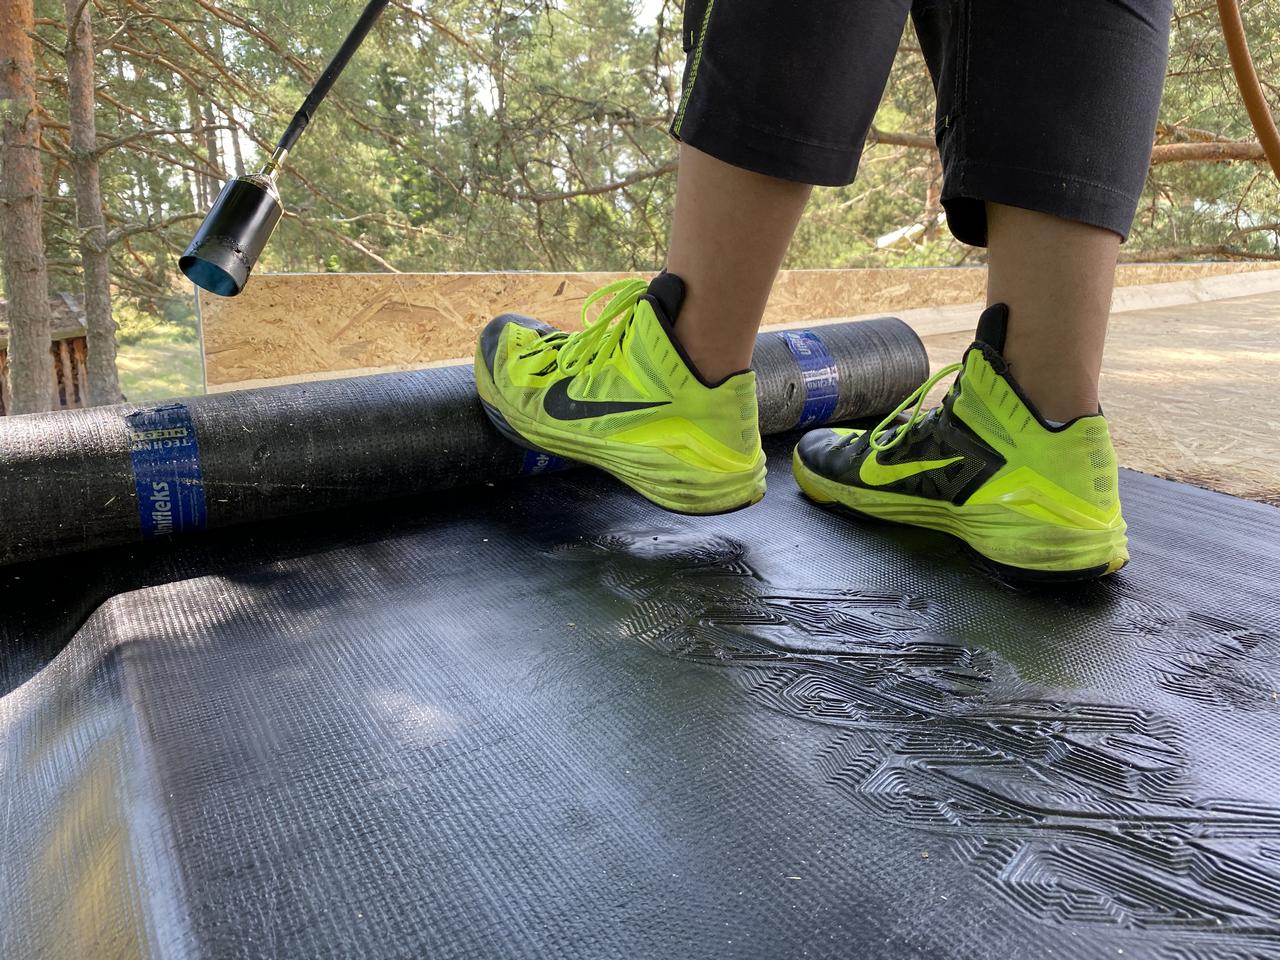
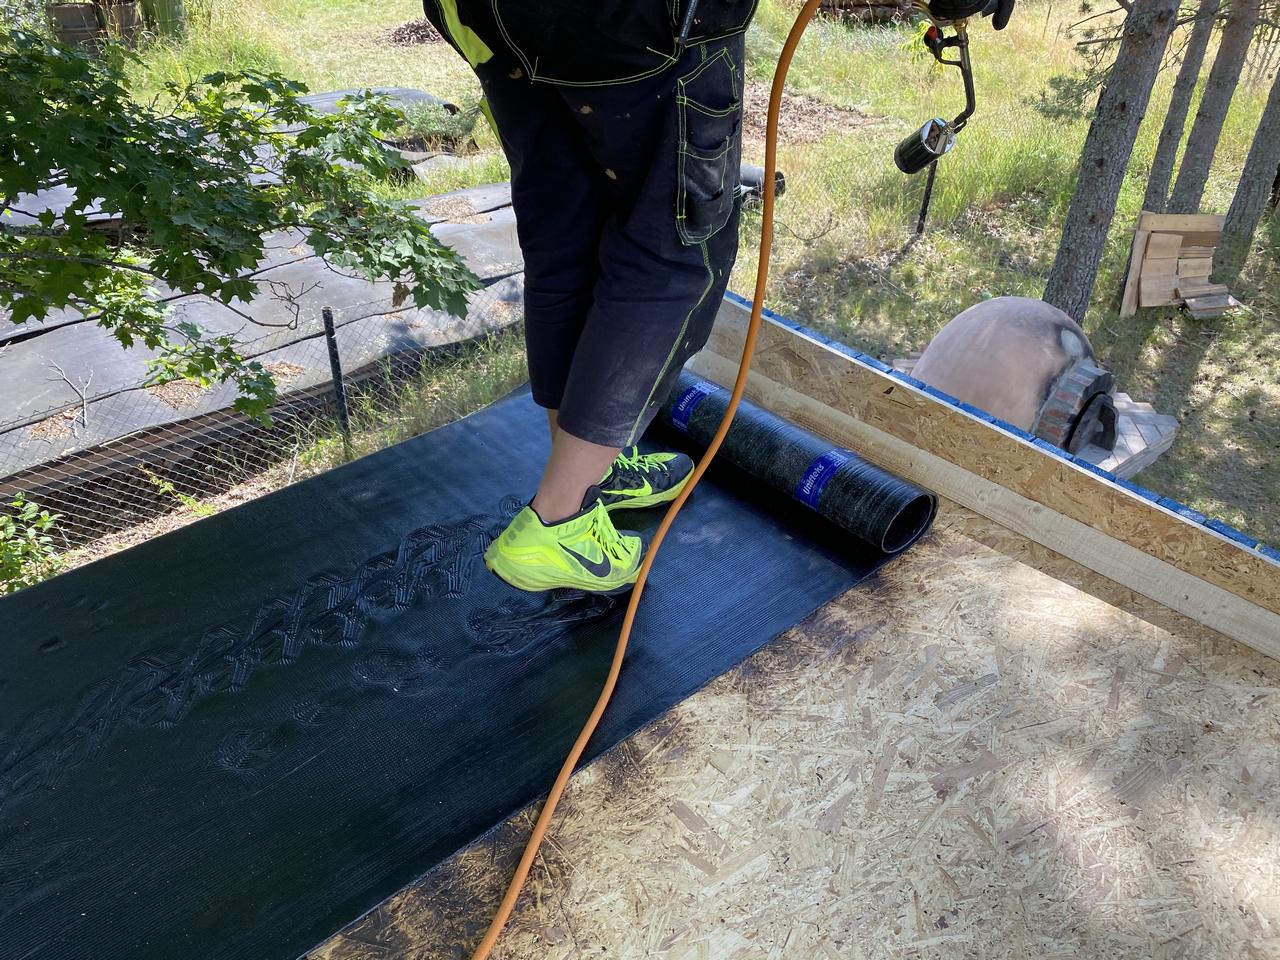
By the end of day 2 the building was totally finished from the outside, exception made for the windows and the roof cover, since we didn't get those items yet.
Sidenote: although we had not roof cover, the roof underlayer was installed already and the insulation was protected from the elements.
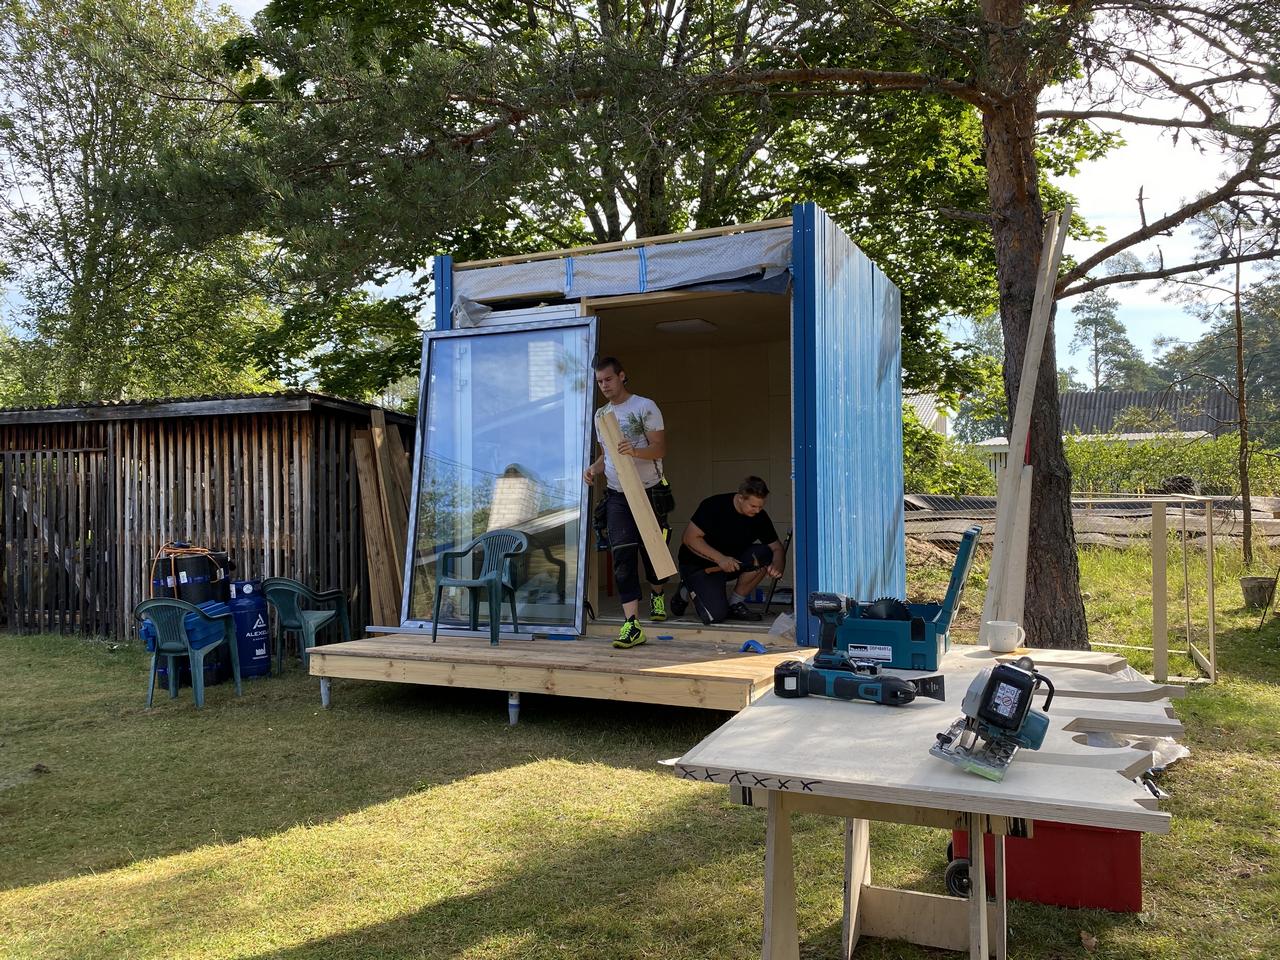
The windows arrived on the next week and we installed them in just a few hours.
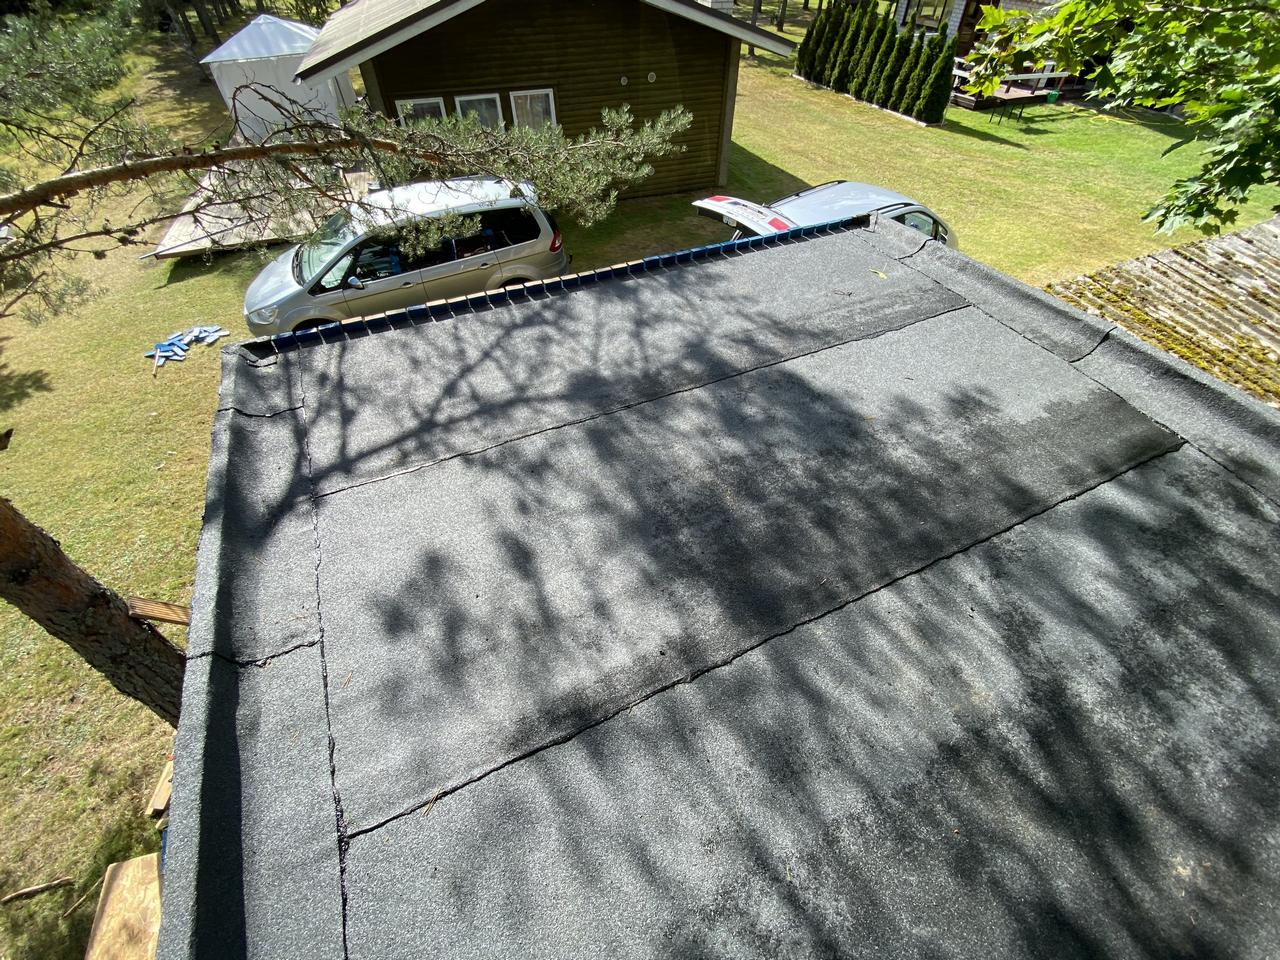
At this point, we contracted 2 carpenters to take care of the roof cover and of the interior finishes...
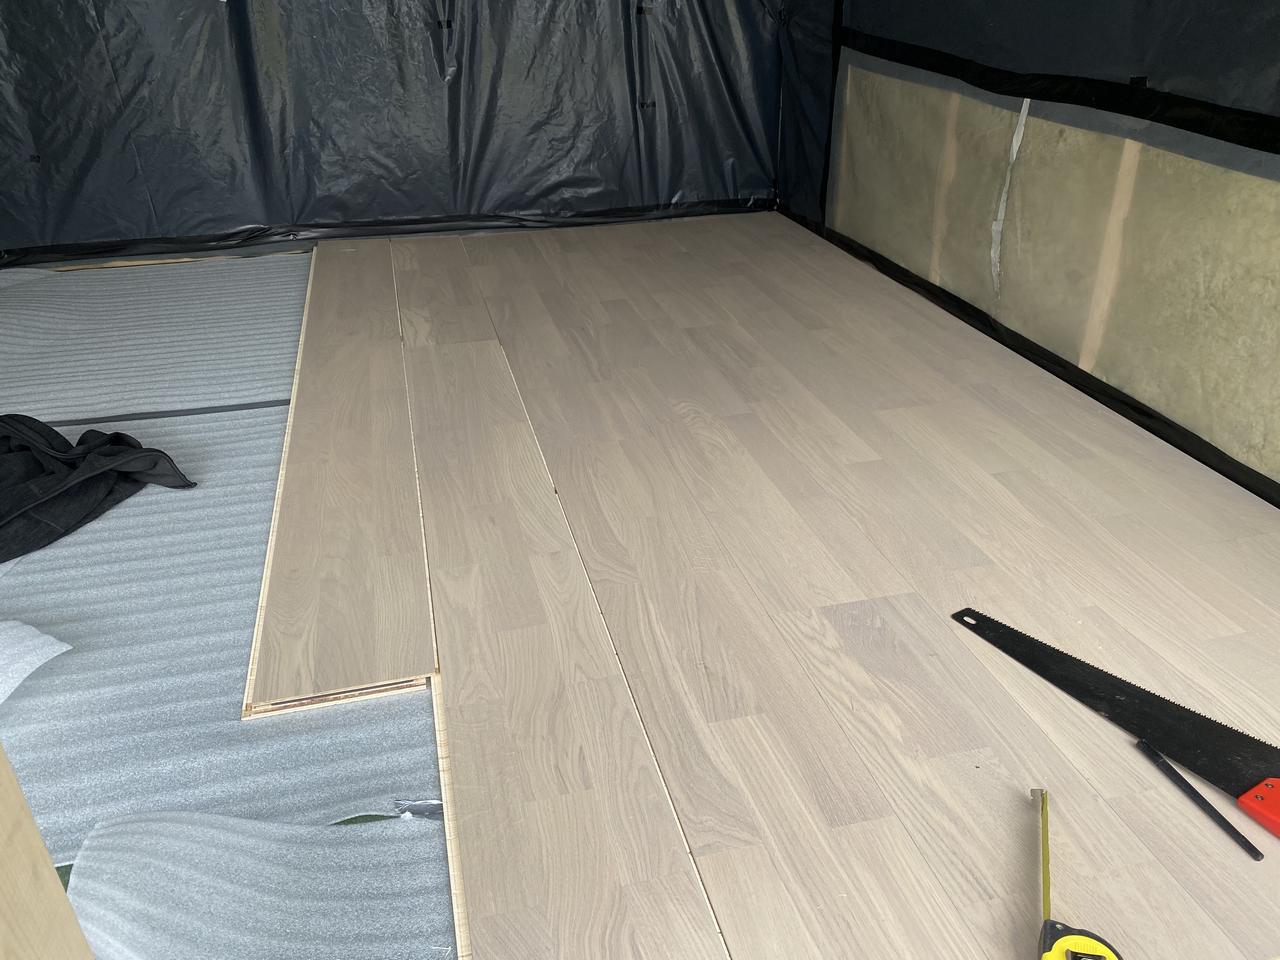
The interiors
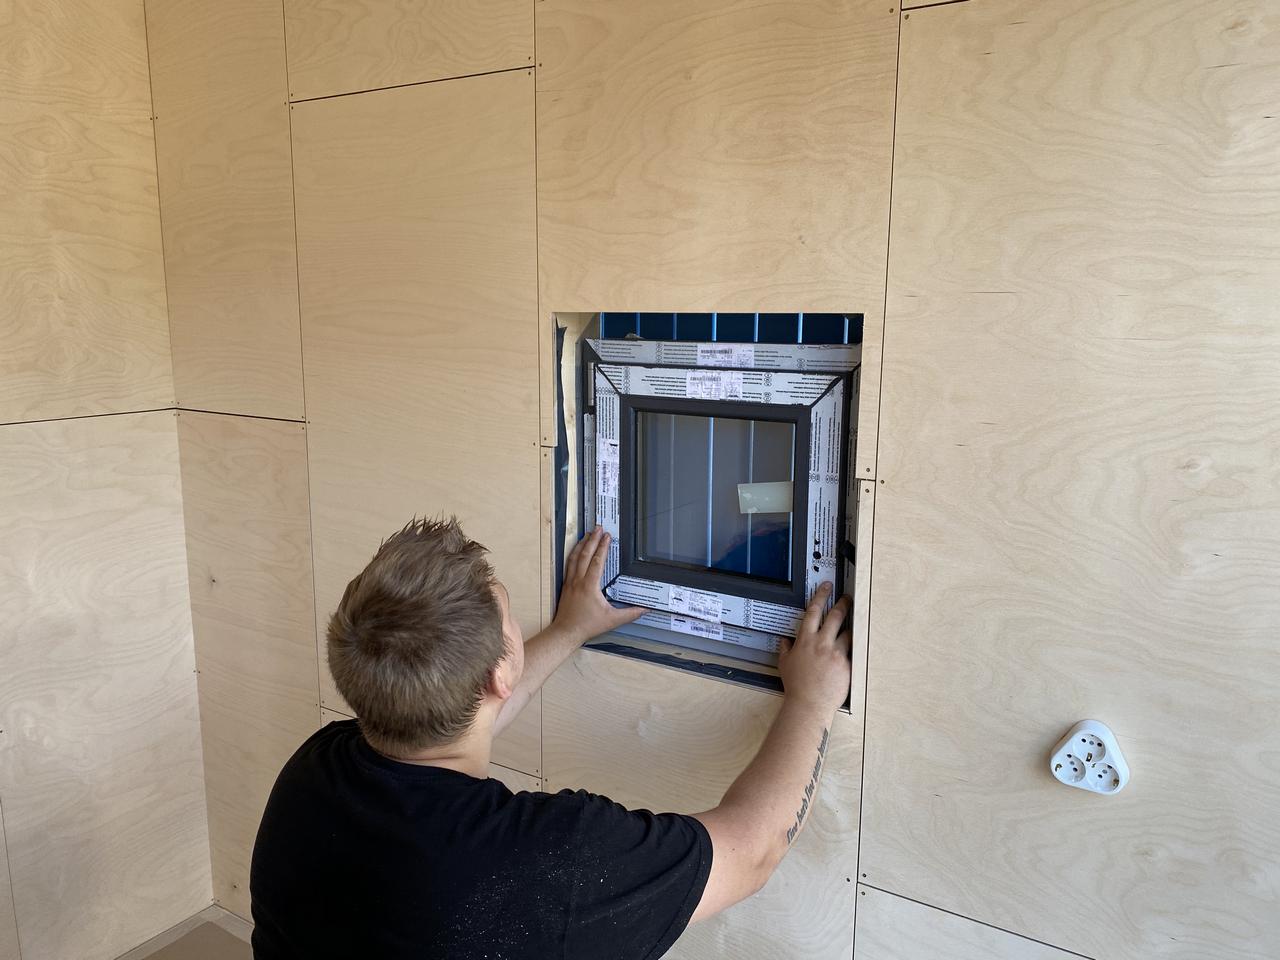
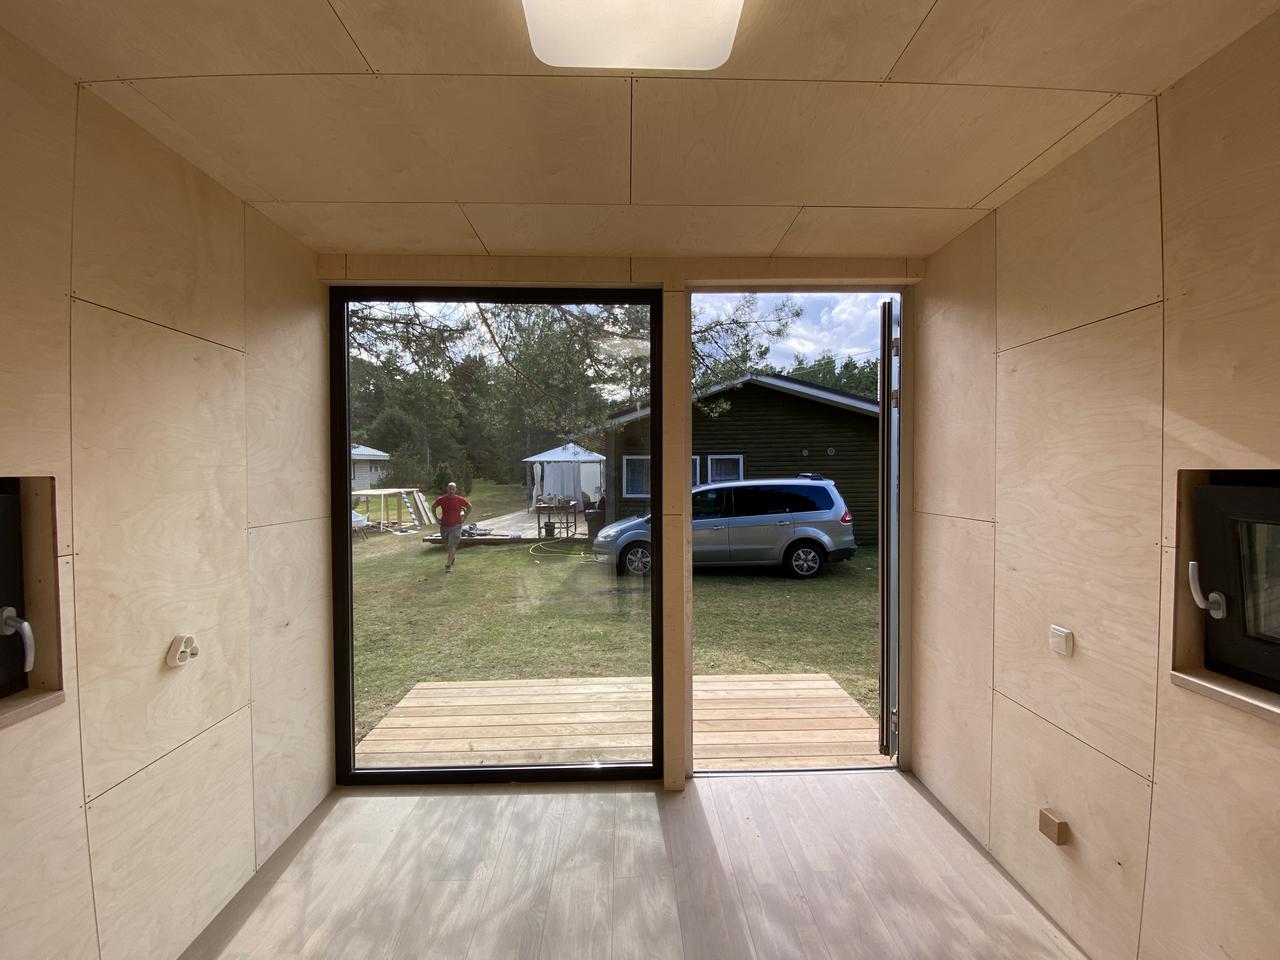
The interior finish is made with plywood panels, natural finish. Probably we will treat the wood in some way in the near future.
We installed the electrical cables before the men started to work on the interiors.

It took one day and a half for the 2 men to finish the interiors and install the terrace in front of the micro-house.

So, in total, we spent 4 days building this guestroom from scratch.
Sidenote: we decided to contract 2 carpenters to carry on the interior works and the roof because we thought they can do a better job than us + they could do it faster. This added about 1600 EUR to the total cost of the house.
The result is nothing short of stunning and we are definitely sure this was a good decision and it was worth the money we paid.
Highlights
Building the structure up is the part where we had the most fun.
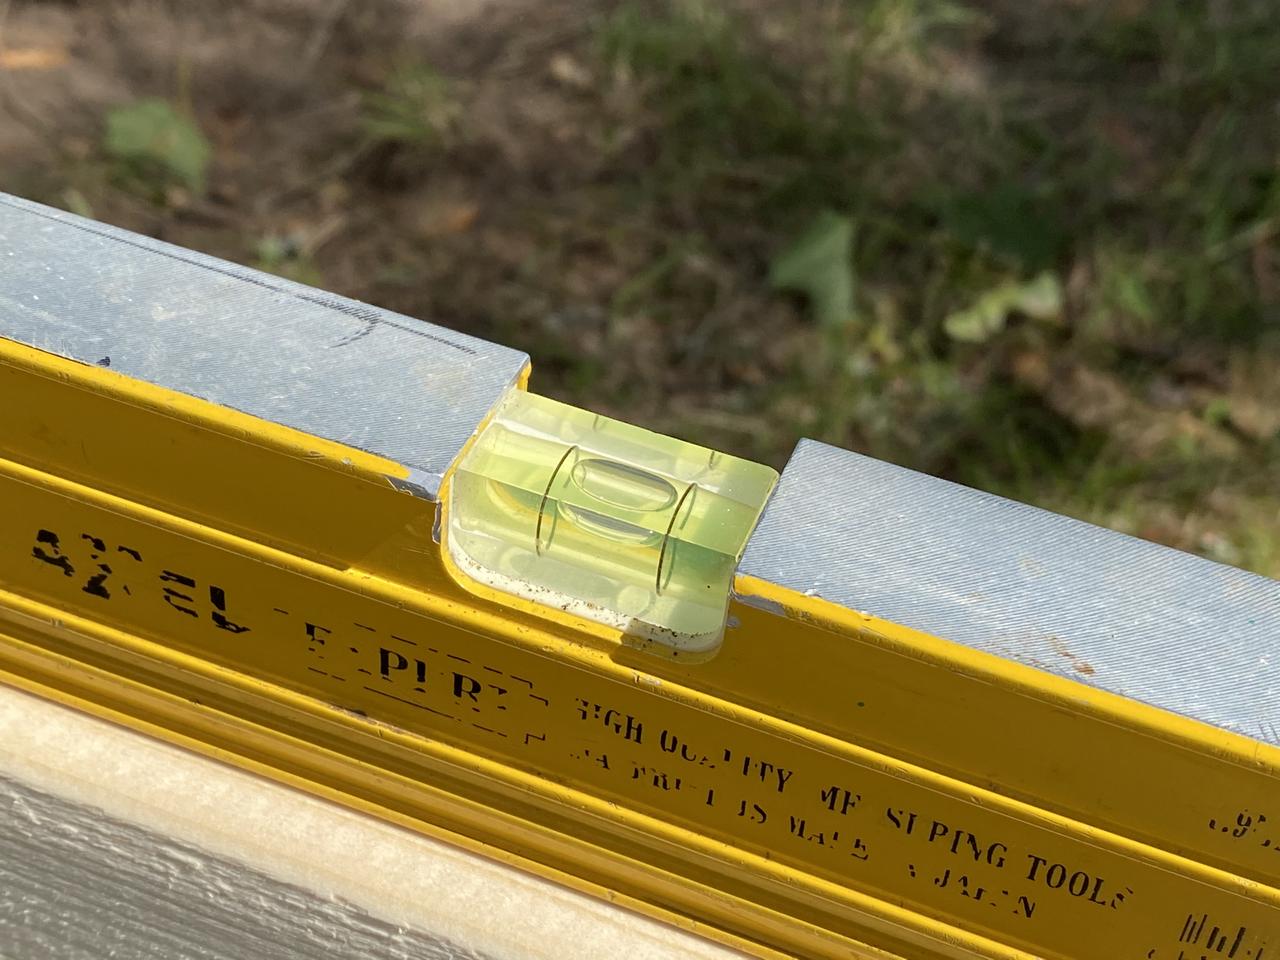
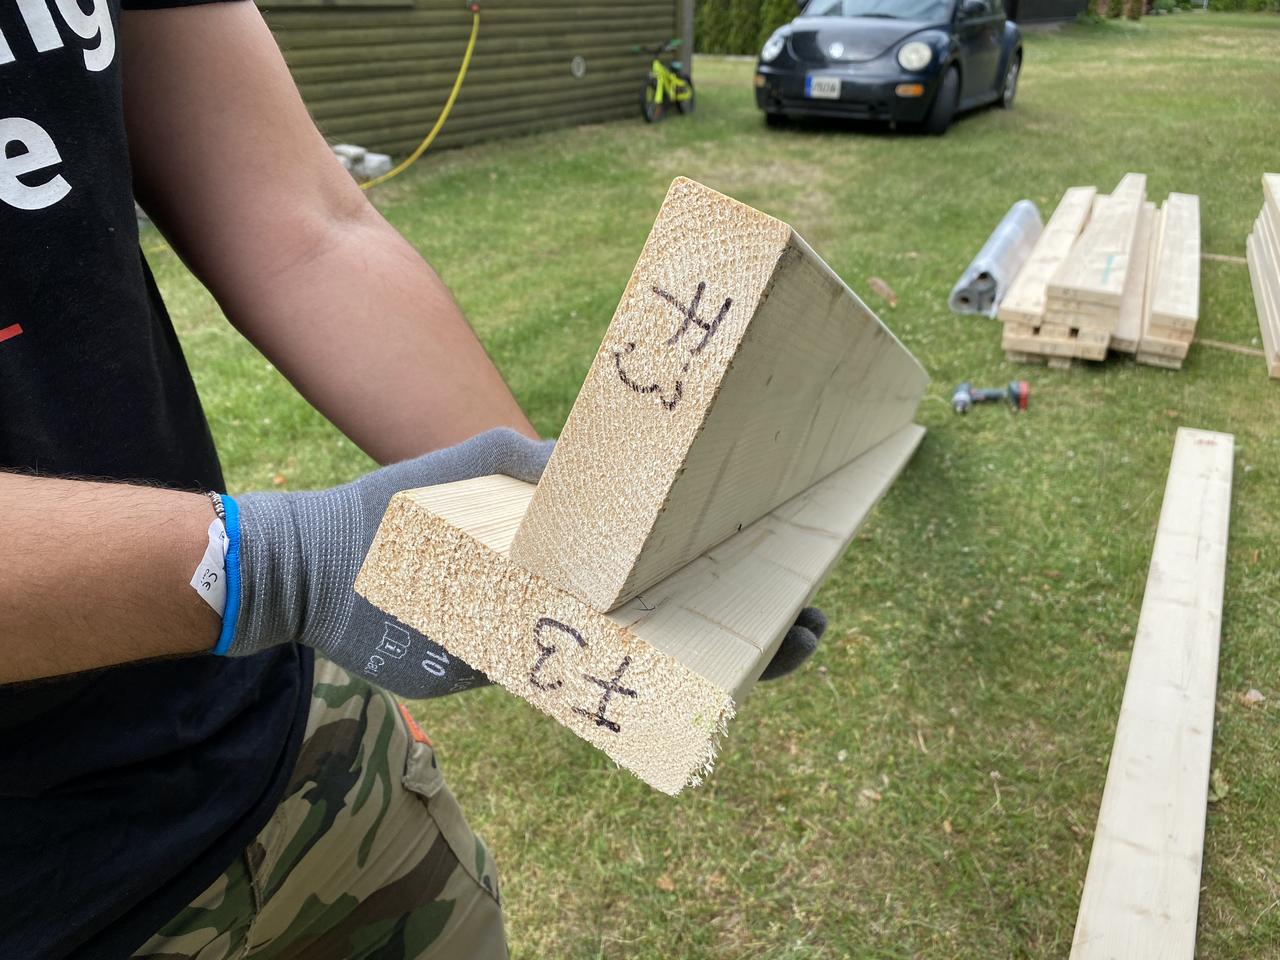
The part we liked the most is that the kit is designed to be put together without ever using a measuring tape... and we managed to use it as intended.
Since all the parts are already cut to measure and numbered, all one has to do is to find them and follow the step-by-step assembly instruction.
No measuring involved. No cutting involved. Zero waste.
It is all very clean and neat... kind of IKEA-like process.
We loved the experience!
The future
The future is here.
As of October 2020, you can now buy the instructions for the DIY Garden Room system.
The instructions set covers everything to self-build the two basic modules of the DIY system, starting from 3x3m.
If you wish (and you have the budget to do so) you can combine the modules to get langer structures, i.e. 3x9 or 3x12, also configurable in L, U or Z shapes.
If you want more information or you have any other kind of question, feel free to reach out to us.